How to Measure for a Timber Frame Pavilion, Pergola, Gazebo, or Arbor
Planning a timber frame outdoor structure—whether a pergola, pavilion, gazebo, or arbor—begins with precise measurement. Taking the time to measure correctly ensures a smooth installation and a layout that enhances both beauty and function in your outdoor space.
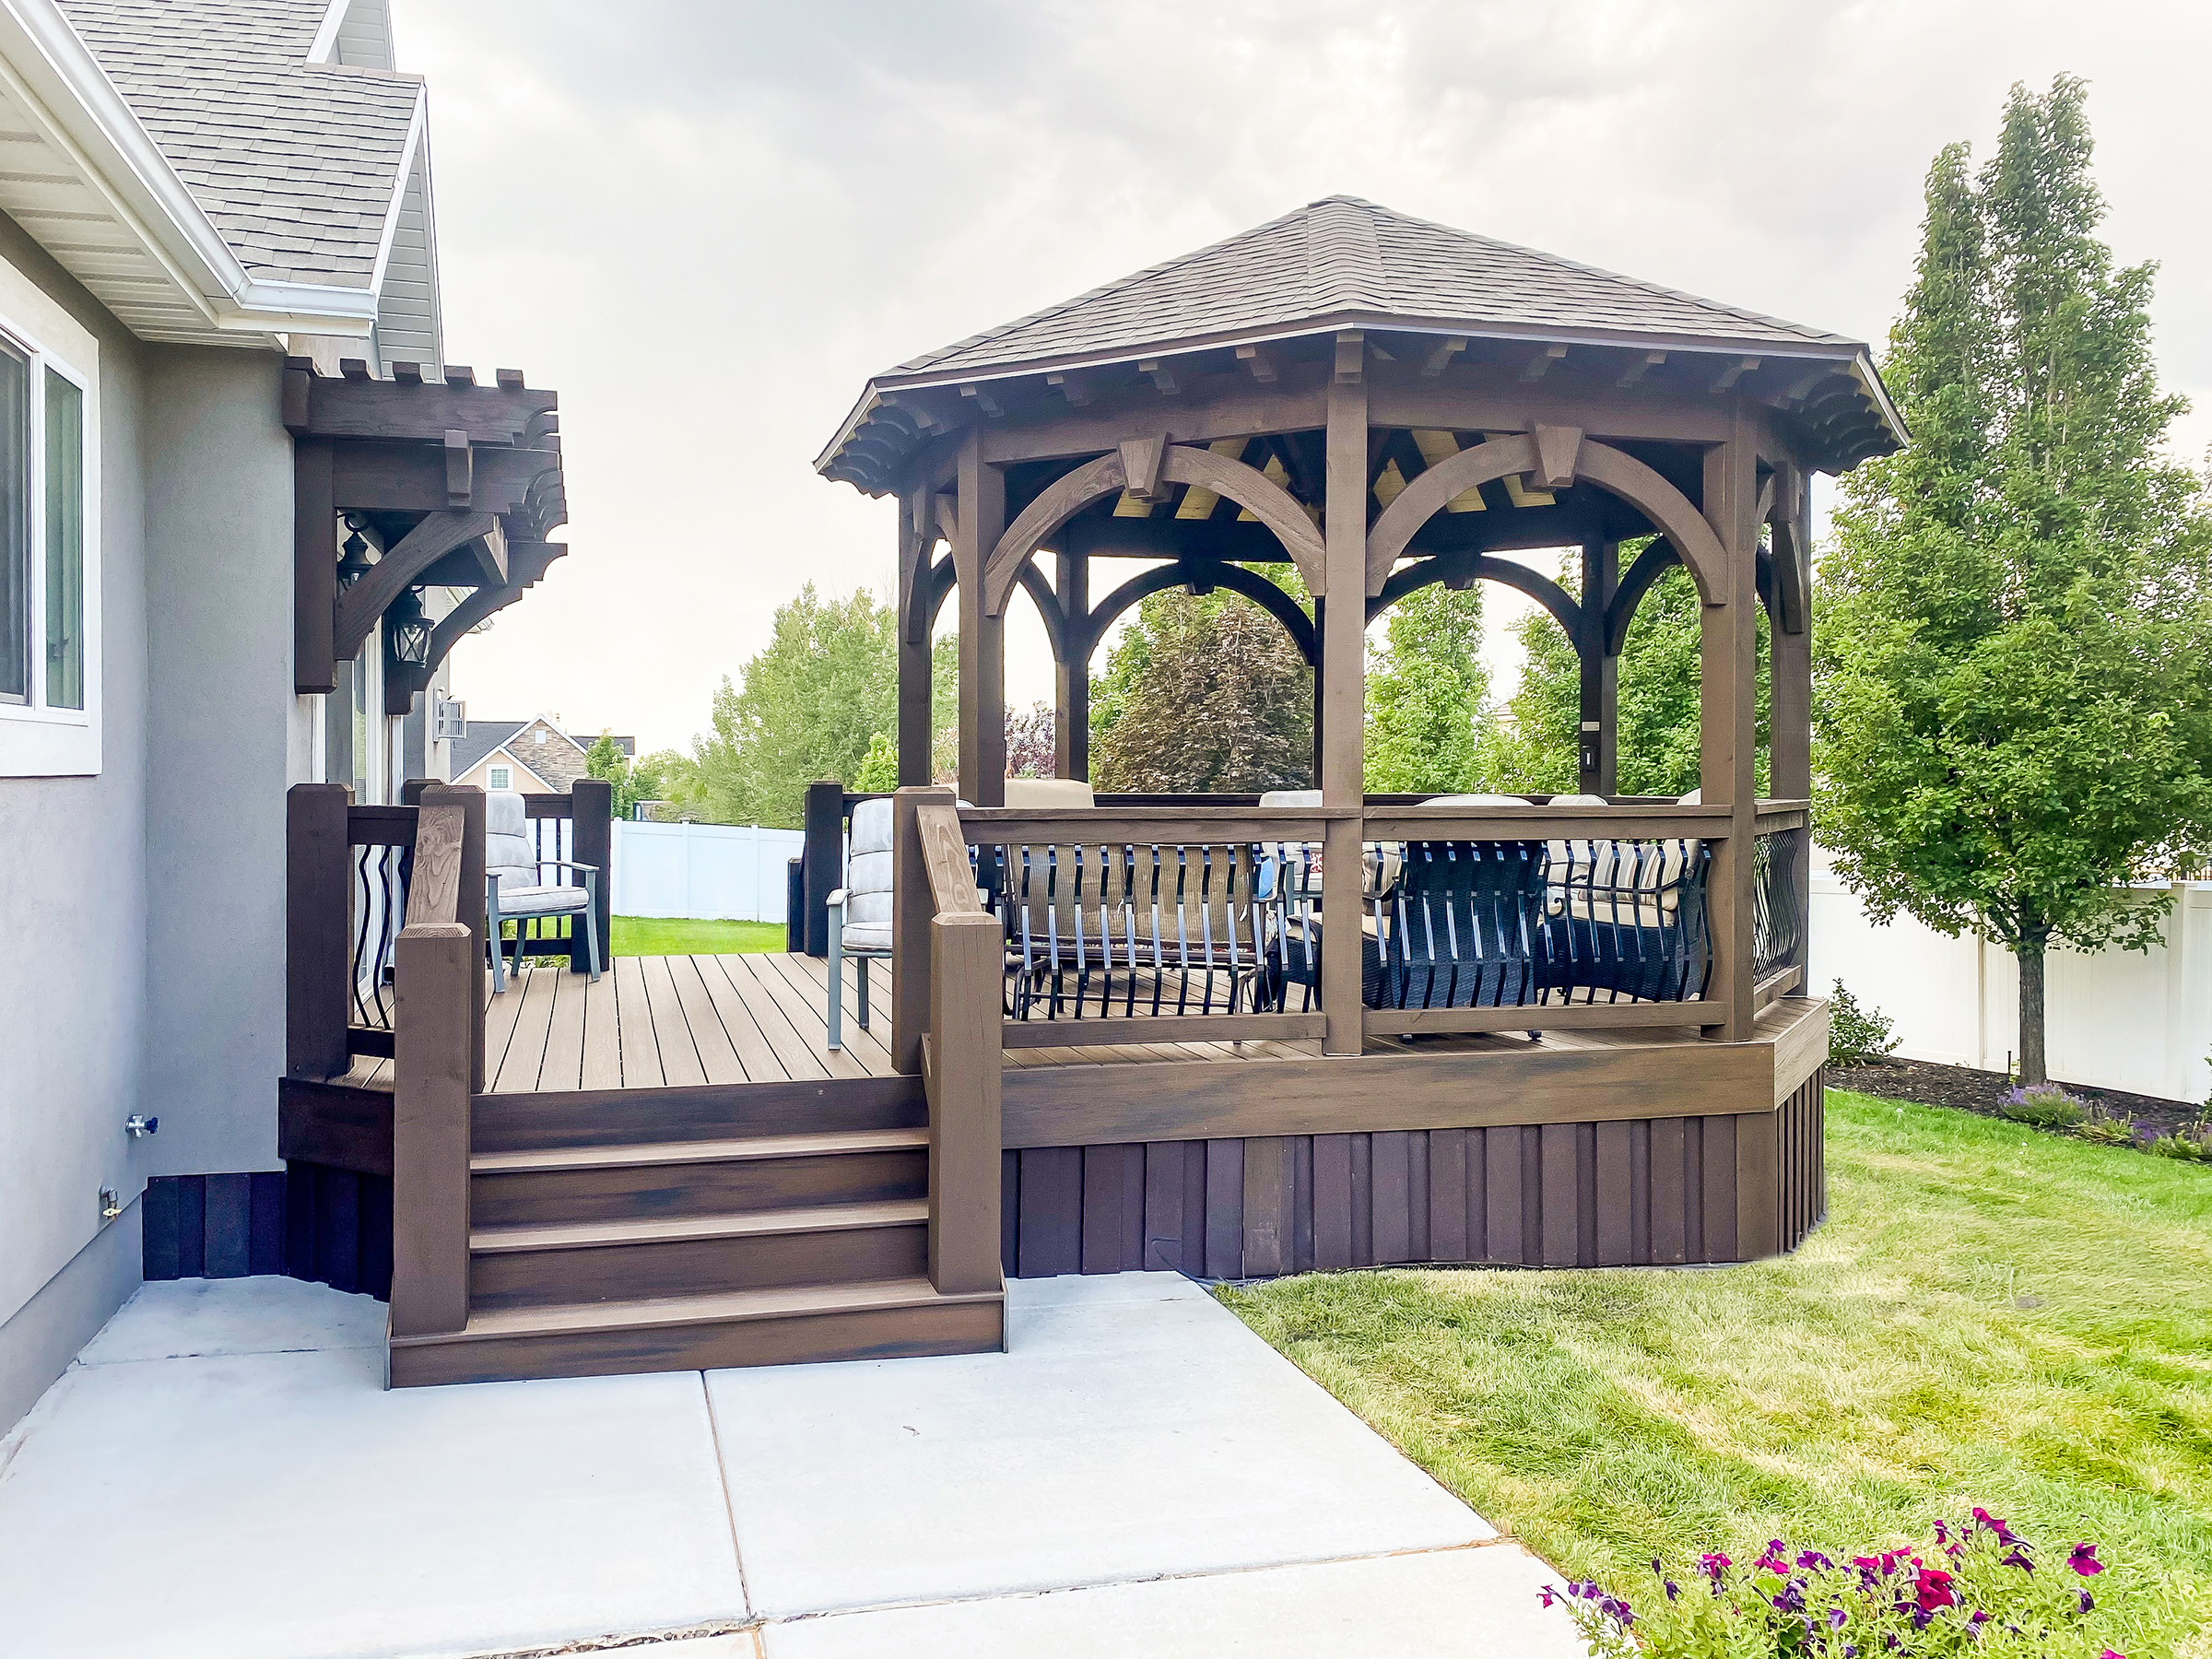
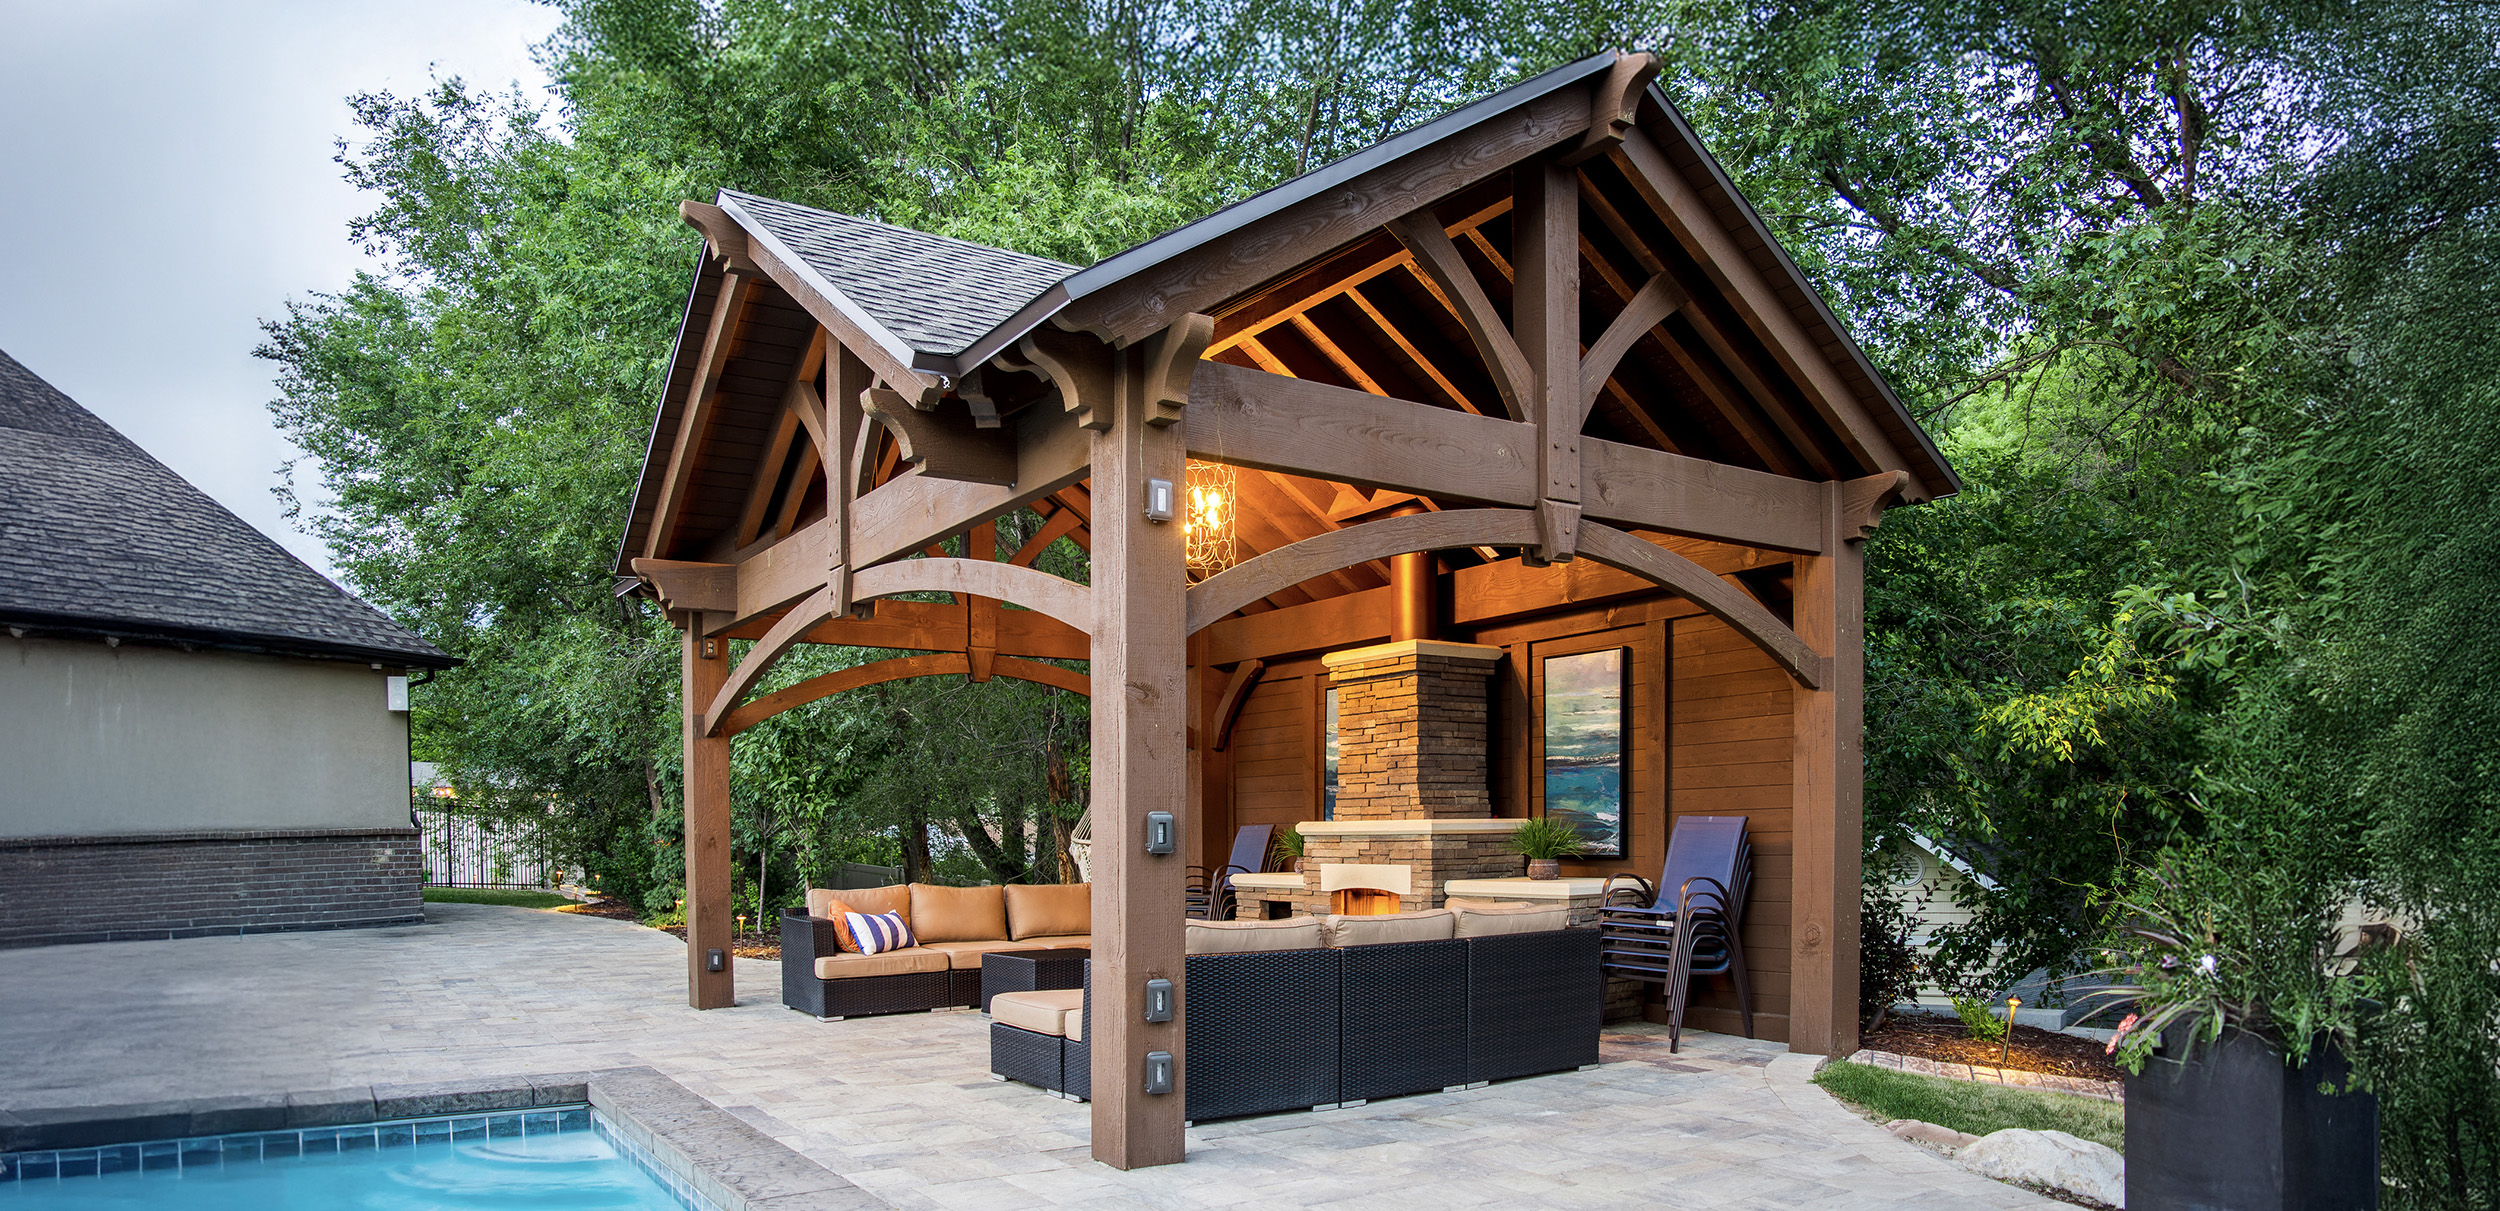
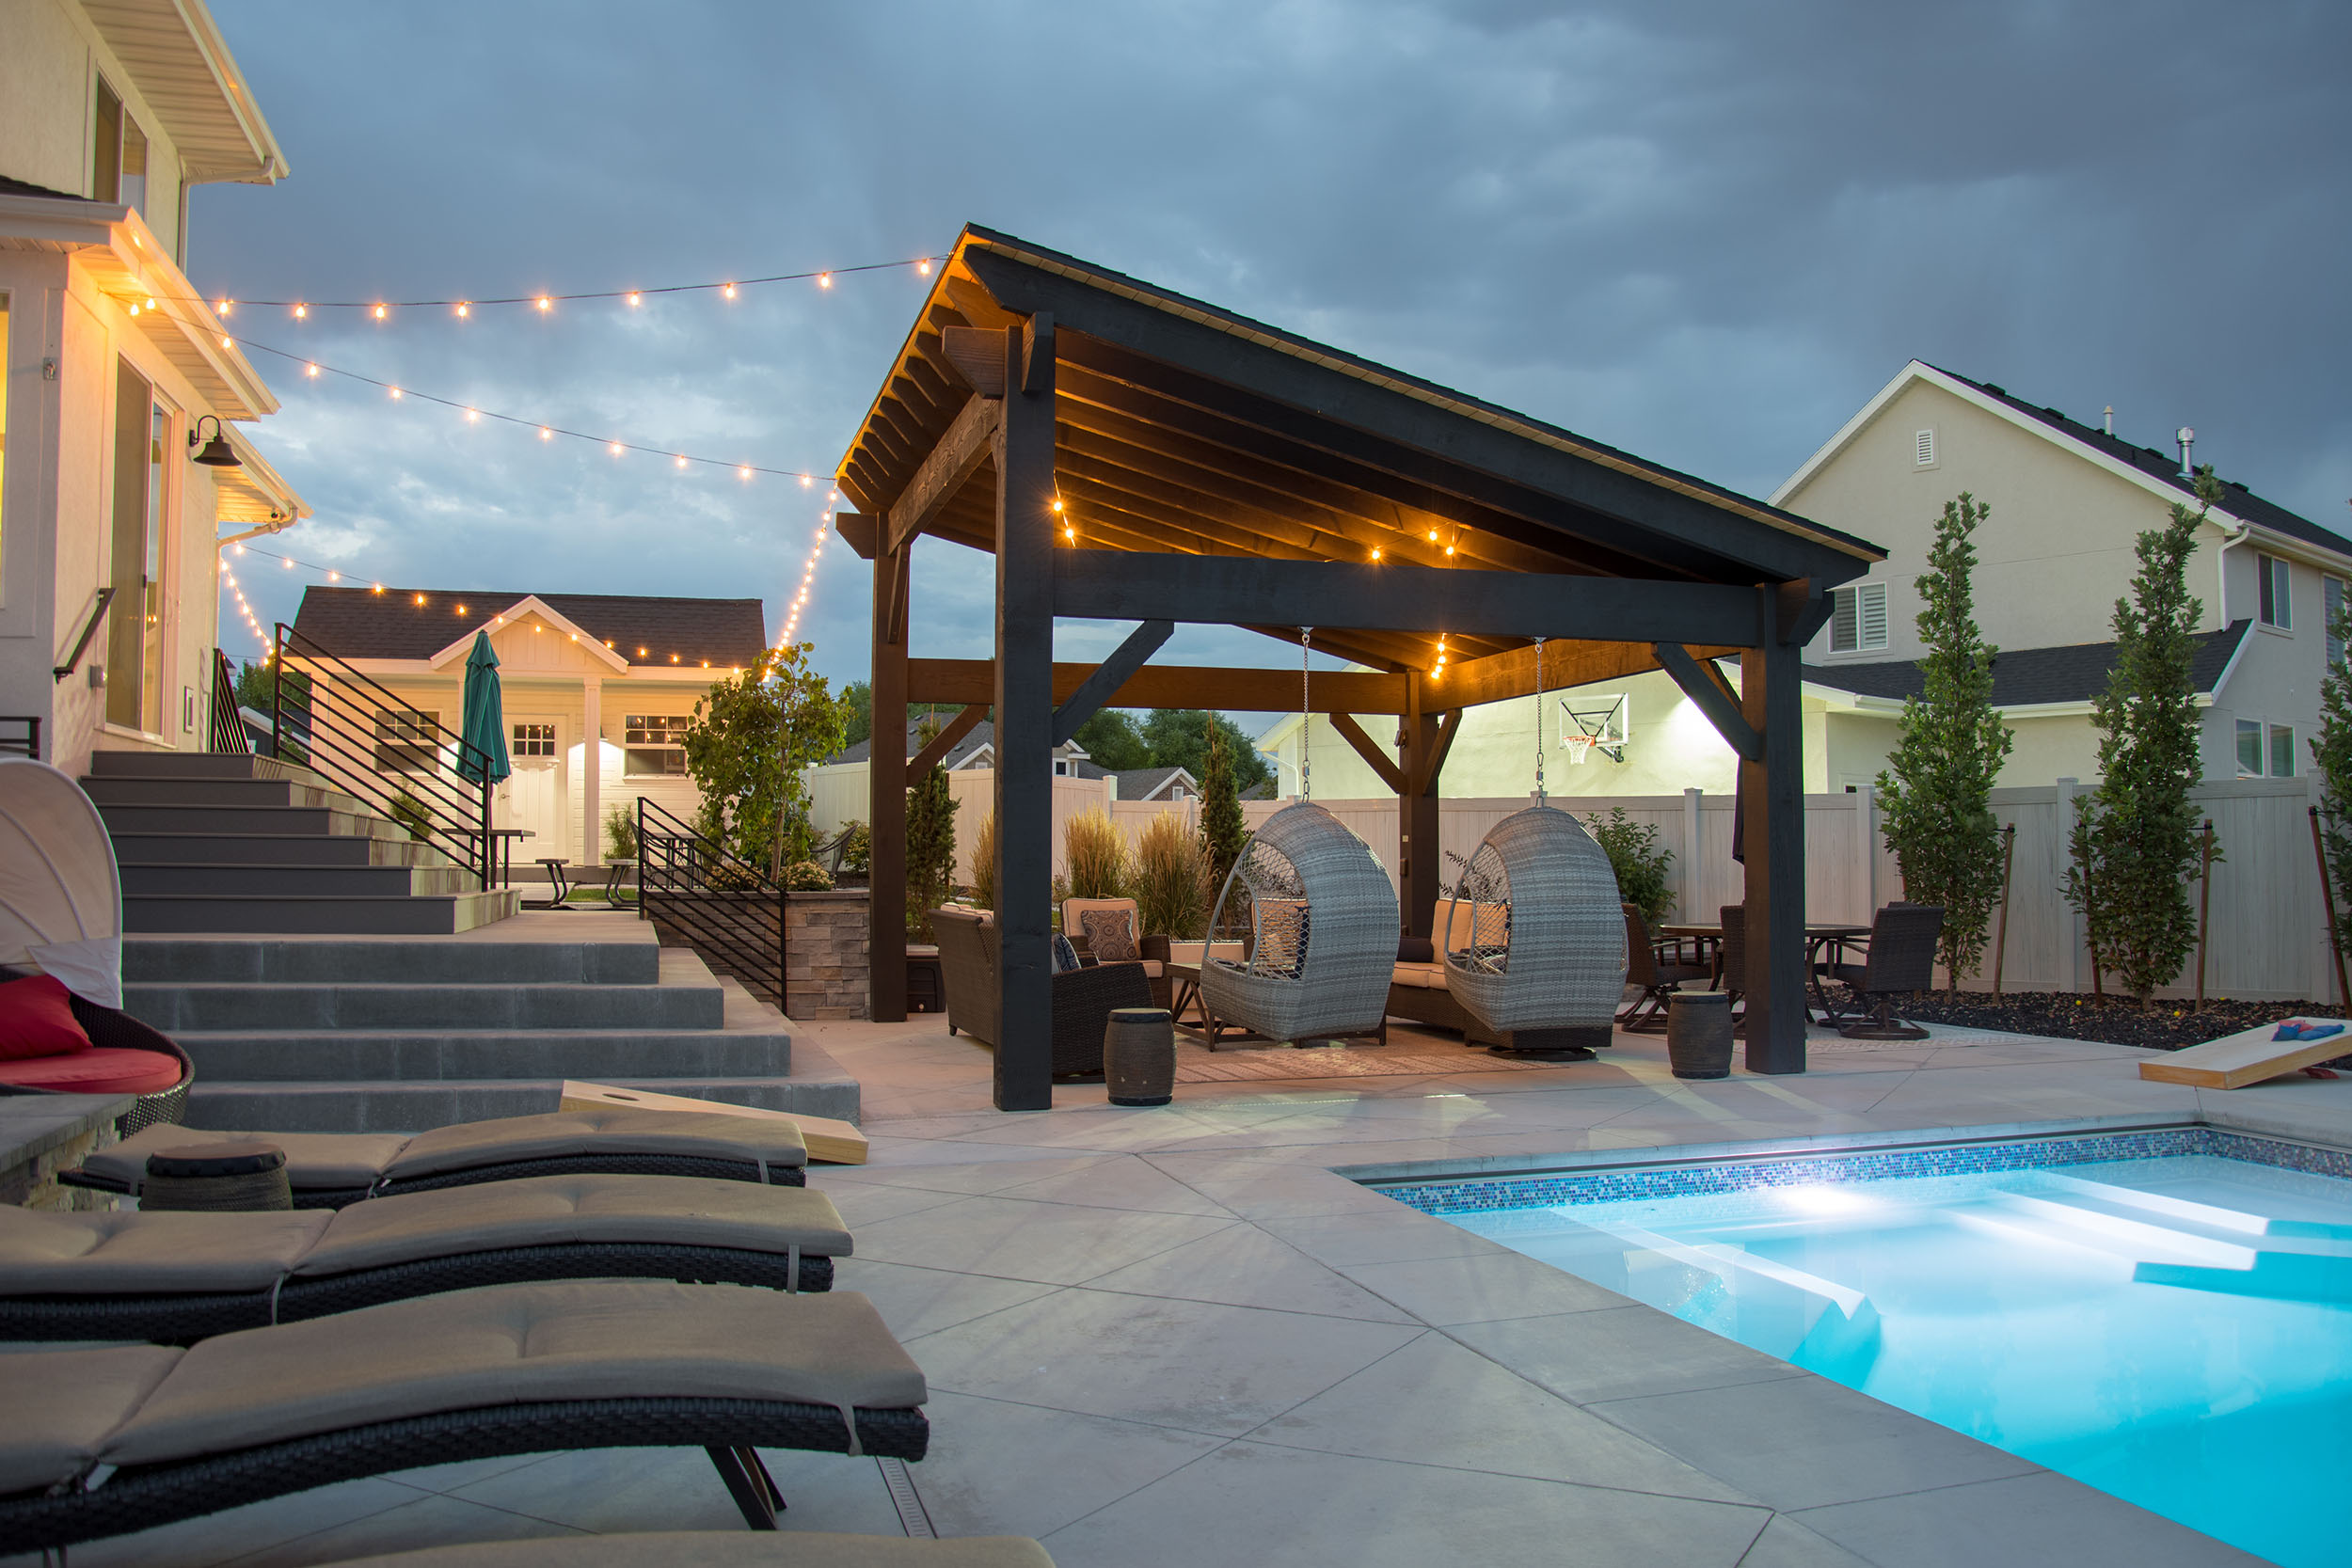
Whether you’re designing for backyard relaxation, garden gatherings, or poolside shade, this guide will walk you through the essentials of measuring, planning, and preparing for a handcrafted timber frame structure from Western Timber Frame.

1. Plan Out Your Designated Space
Freestanding or Attached?
Will your pergola or pavilion be freestanding in an open area, or anchored to an existing wall or structure? This decision will determine not only how you measure, but also the engineering of the structure.
Consider:
- Permanent features (trees, driveways, utility boxes)
- Landscape elements (retaining walls, irrigation systems)
- Eaves, downspouts, or air conditioning units
✨ Pro Tip: Your Design Manager is here to help you plan around fixed features, maximize usable space, and avoid surprises.
2. Basic Measuring Principles
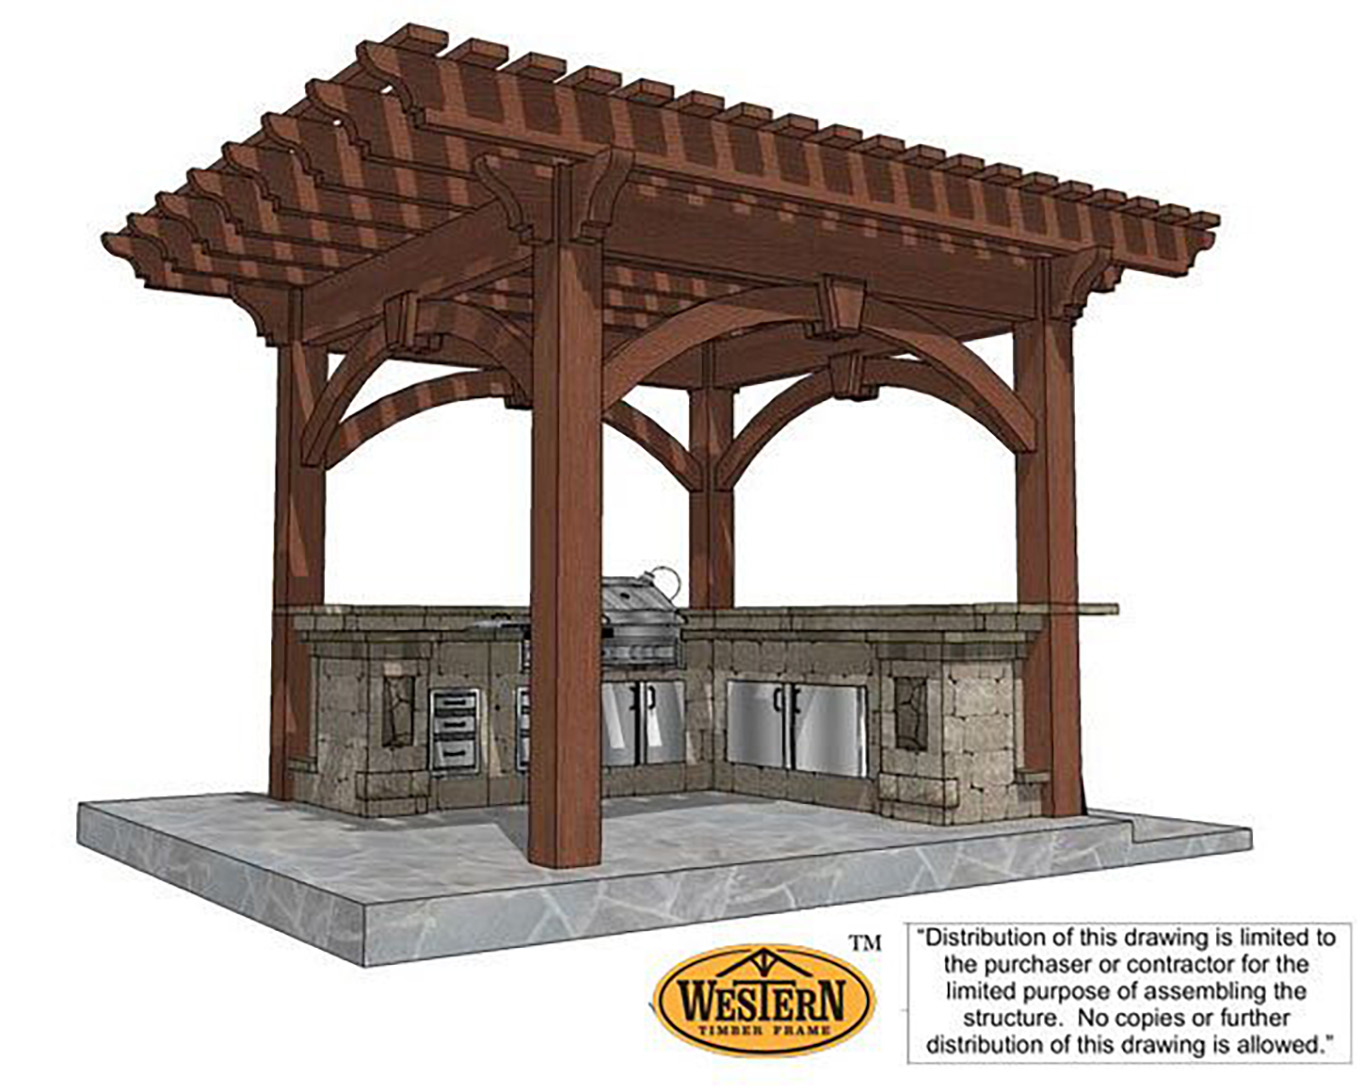
Roof Overhang
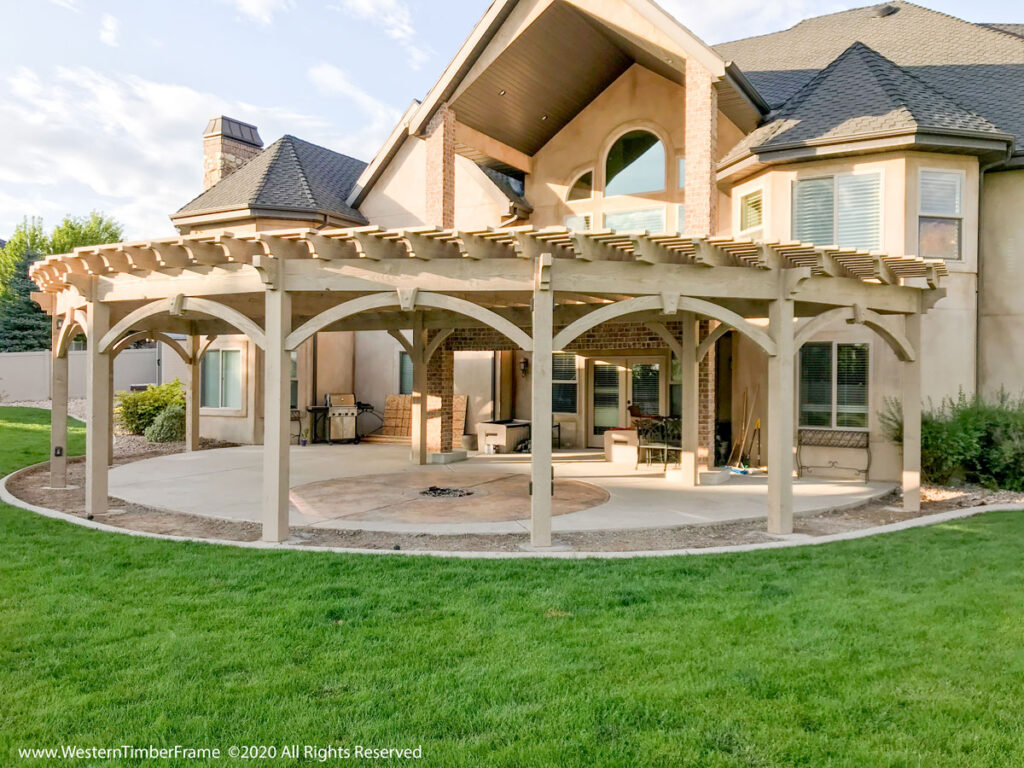
Most timber frame structures include a standard 2-foot roof projection on all sides. This overhang creates that iconic Alpine silhouette and extends the shelter beyond just the post-to-post footprint.
When planning your space, always account for:
- Post-to-post footprint
- Overhang area
- Clearance around the structure
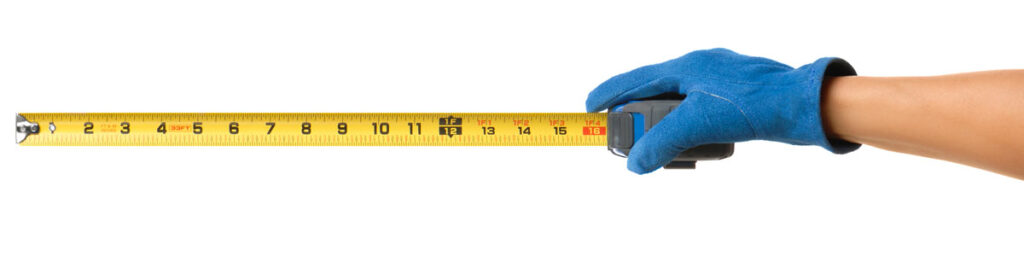
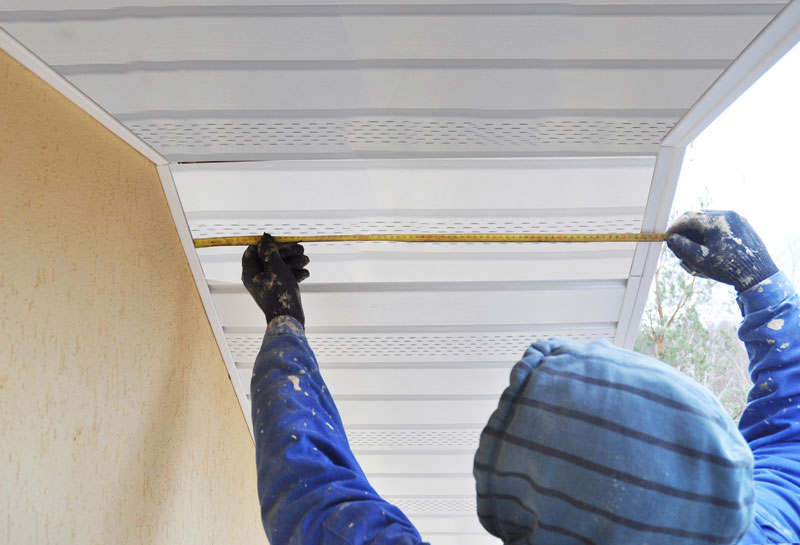
3. Tools for Accurate Measurements
- Measuring Tape: Reliable and easy to use for smaller areas.
- Laser Measure: A fast, solo-friendly tool ideal for longer distances or hard-to-reach spots.
- Laser Tape Measure: Combines laser accuracy with the classic tape measure convenience.
No matter your tool, always remember the timeless rule:
Measure twice, cut once.
4. How to Square Your Space
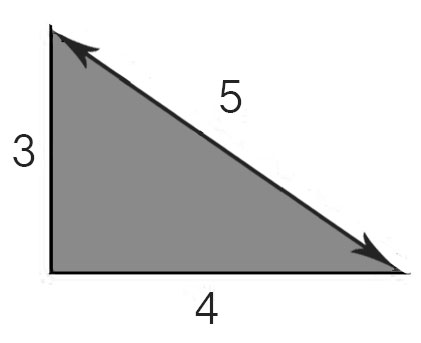
For perfect corners and post placement, use the 3-4-5 Method:
- Measure 3 feet on one side.
- Measure 4 feet on the adjacent side.
- The diagonal between them should measure 5 feet if the corner is a true 90°.
This technique ensures your layout is square, even if your final design is curved, tiered, or custom-shaped.
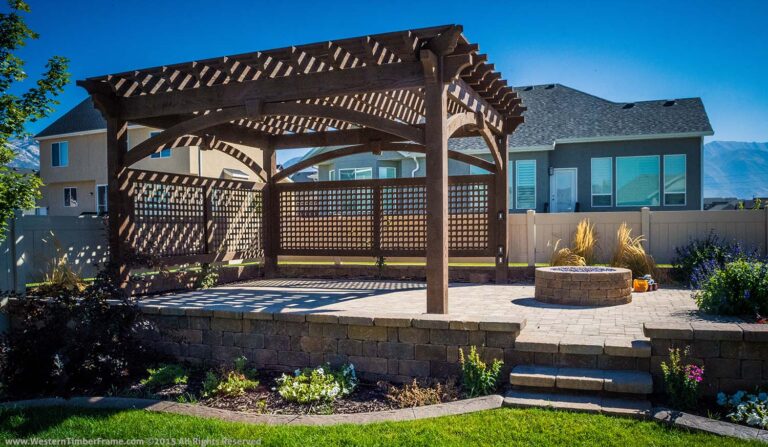
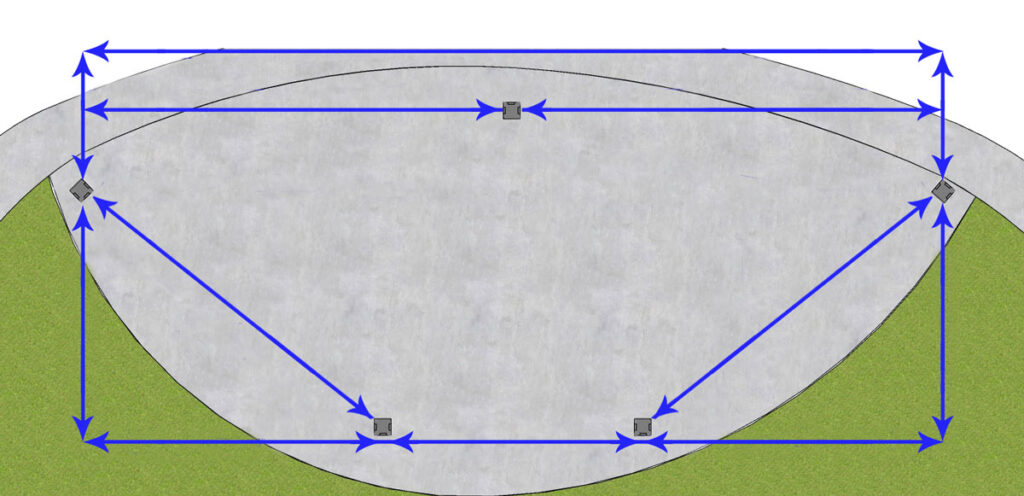
To lay out your post locations with precision, use the classic 3-4-5 Method to ensure square corners—even in custom shapes. Whether your pergola follows clean angles or curves to fit a unique space, envision your layout on a grid. Even if the overall design isn’t a perfect rectangle, squaring your measurements ensures symmetry, balance, and a professional, polished look that’s pleasing to the eye and structurally sound.
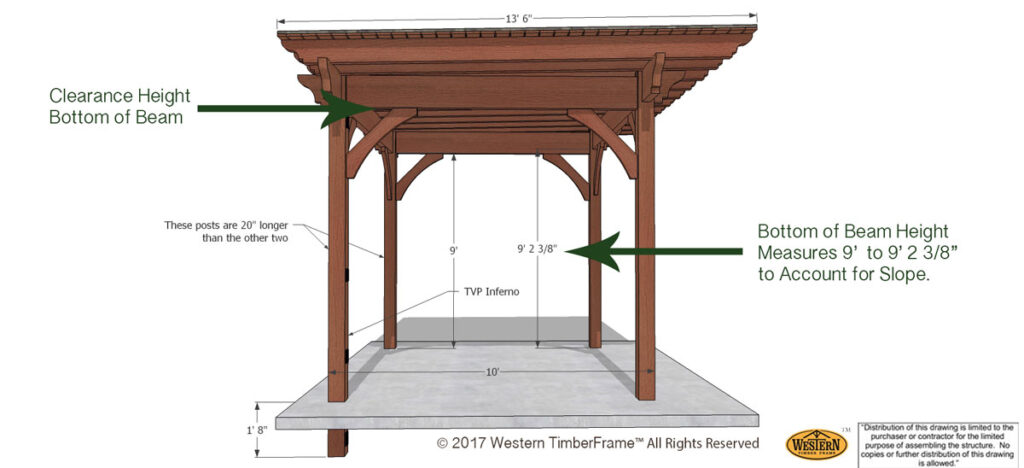
5. Beam Clearance & Post Height
Standard Beam Height
- 8 feet of head clearance is standard for comfort and airflow.
- Never go below 7 feet to avoid a cramped feel.
When You’ll Need Taller Posts:
- Sloped yards or step-down patios
- Pouring concrete before install (subtract 4” from post length)
- Designing for entryway sightlines, RV shelters, or vehicle clearances
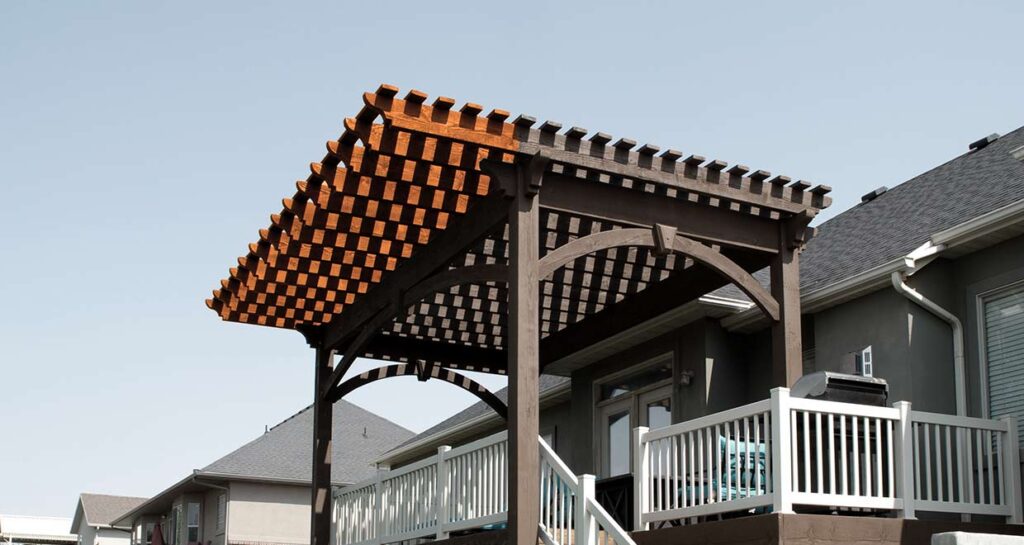
6. Ledger Boards for Attached Structures
When attaching a pergola or pavilion to your home or building, a Ledger Board acts as the structural anchor.
- The height of the ledger board = height of your horizontal beams
- Placement depends on joists, second-floor level, or eaves
- Suitable for wood framing, brick, or concrete exteriors

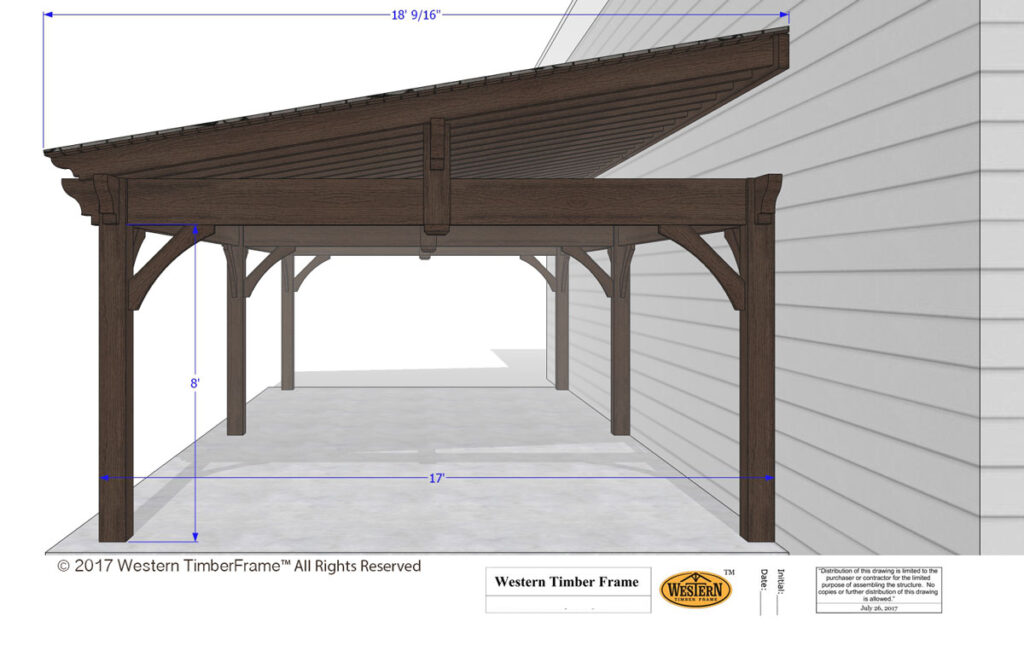
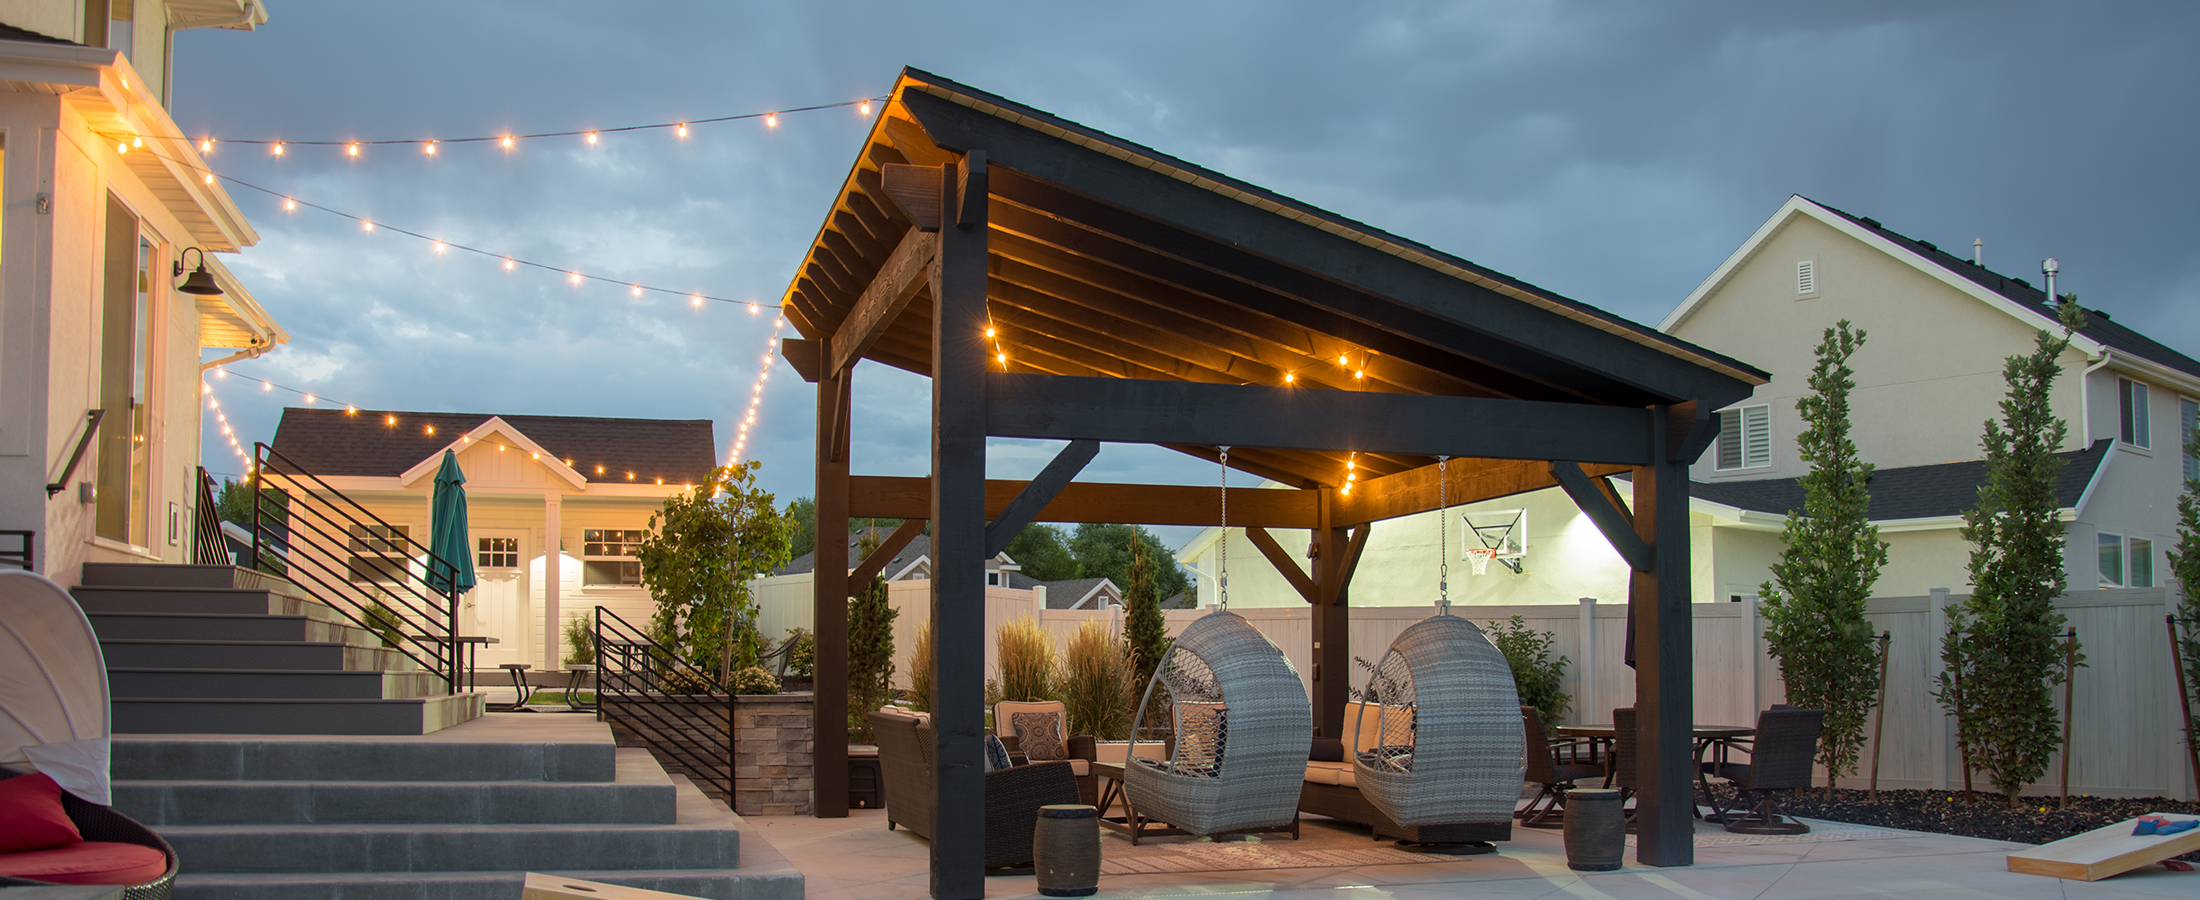
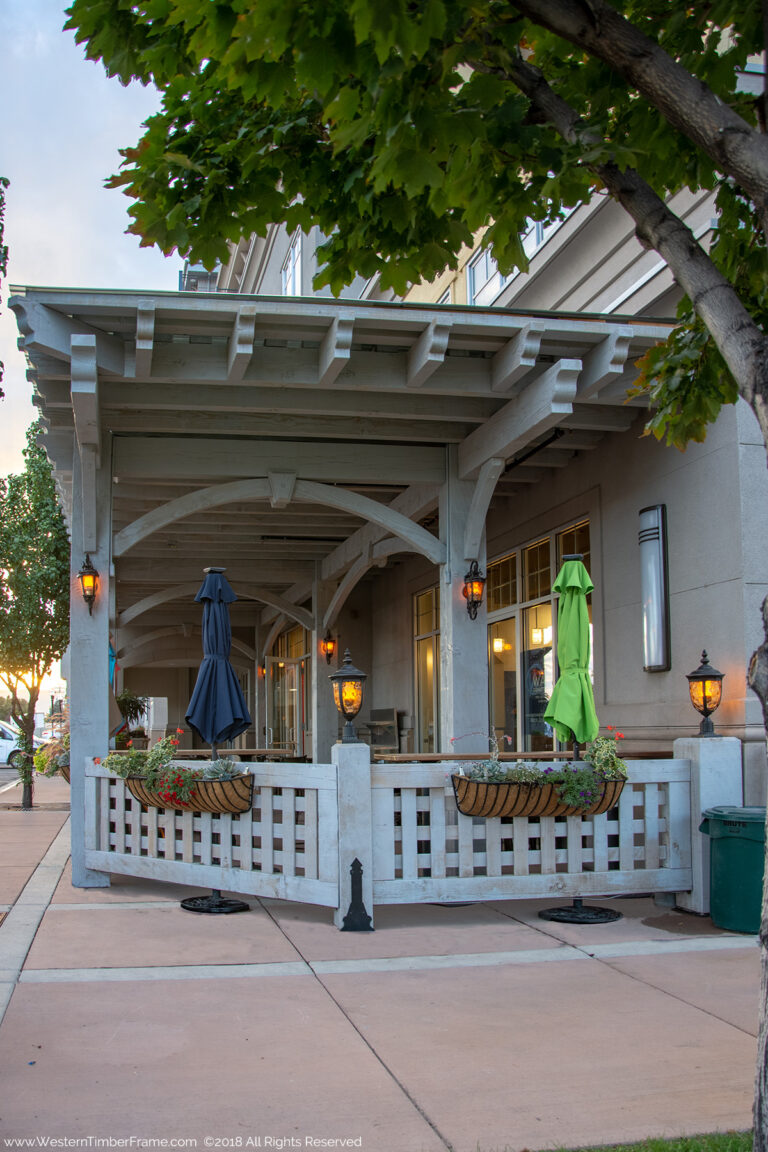
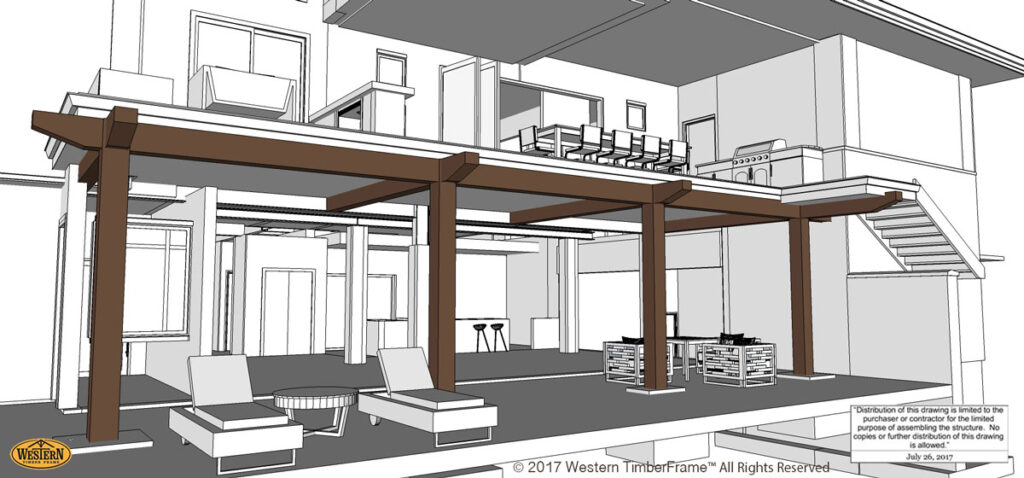
As shown above, a Ledger Board can be mounted at a higher floor level or used to support a sloped pavilion roof. In these cases, while the structure appears attached, it functions as a freestanding pergola with an anchored connection—giving you the best of both worlds: structural independence and architectural integration.
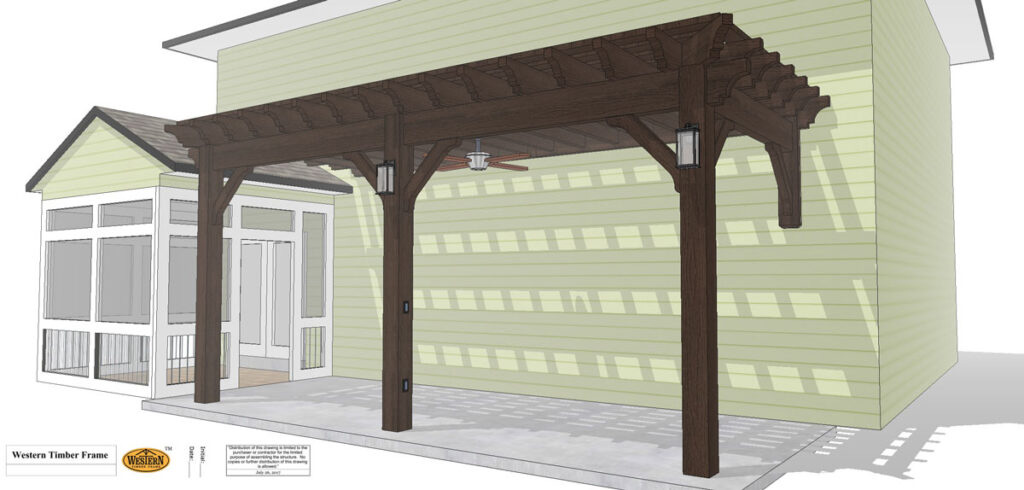
7. Watch for Obstructions
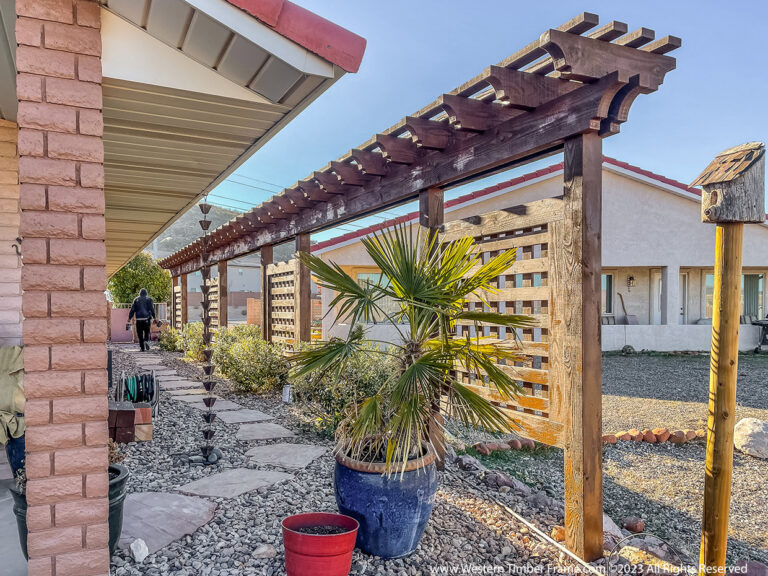
Eaves, pop-outs, and overhangs may affect your ledger board placement and roofline. Measure carefully to fit your pergola within these architectural features, or speak to your Design Manager about customized roof or post adjustments.
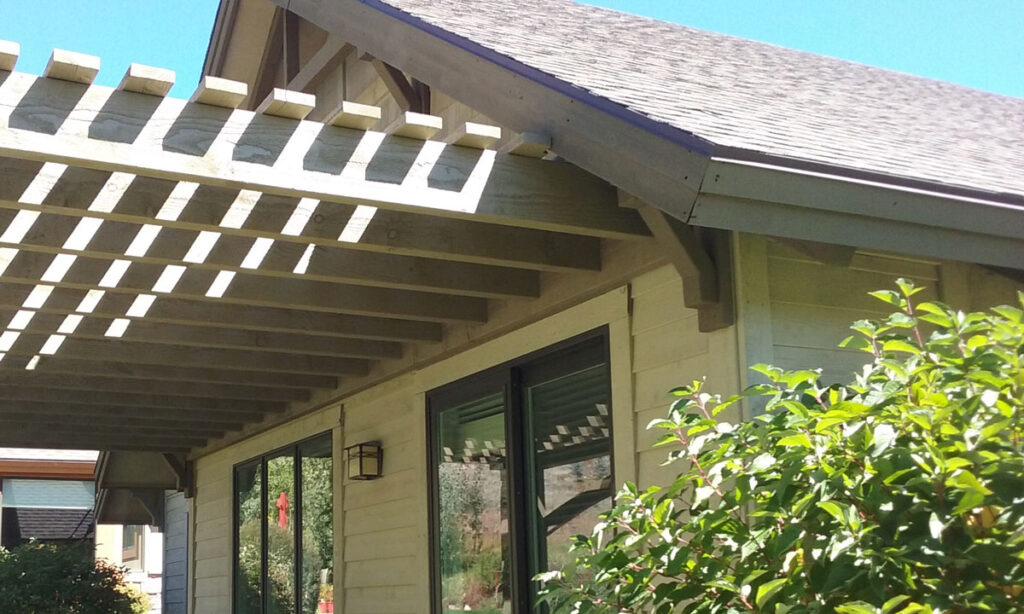
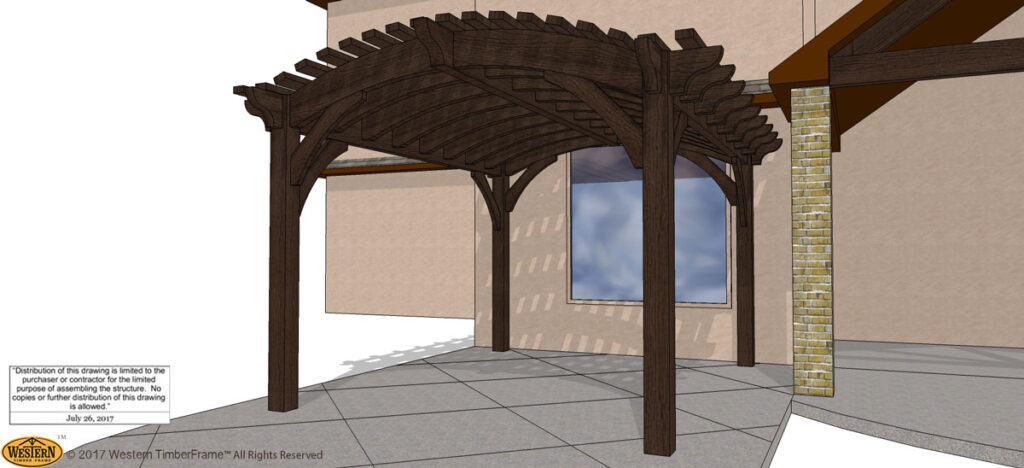
In the image above, the Ledger Board is intentionally shortened to allow the pergola to extend beyond the roof eave, creating a seamless overhang without interference.
8. Roof Style, Size & Height
Roof Overhang
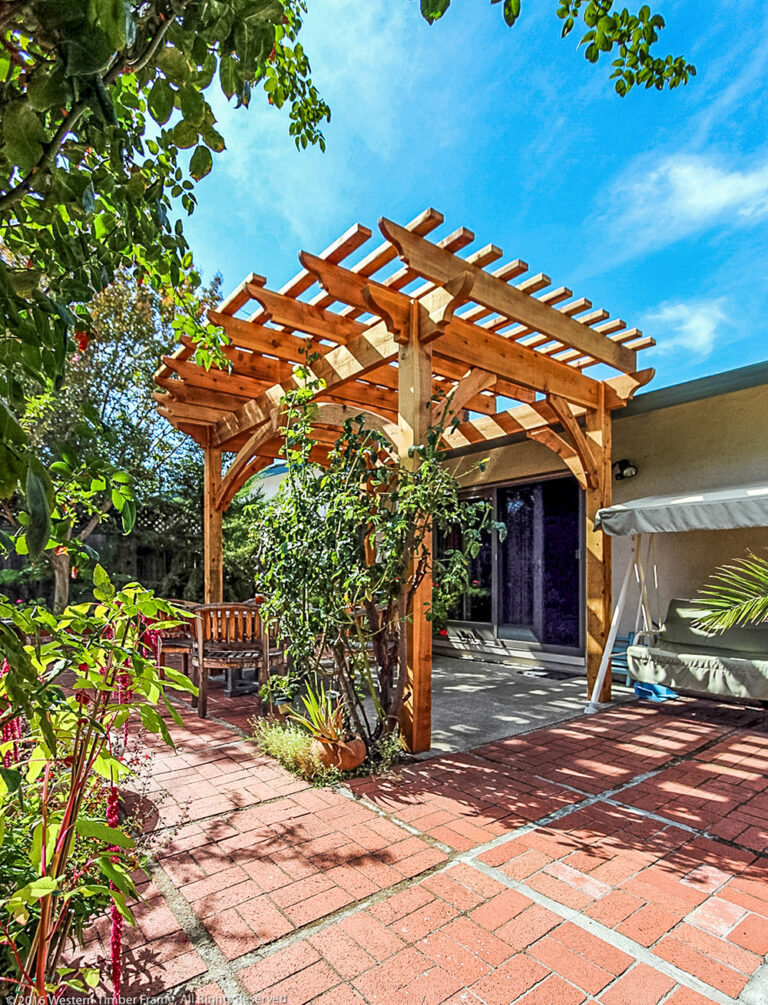
- Freestanding structures: overhangs on all sides.
- Attached pergolas: overhang only on the exposed sides.
- Leave at least 2 inches between the structure and wall for airflow and expansion.
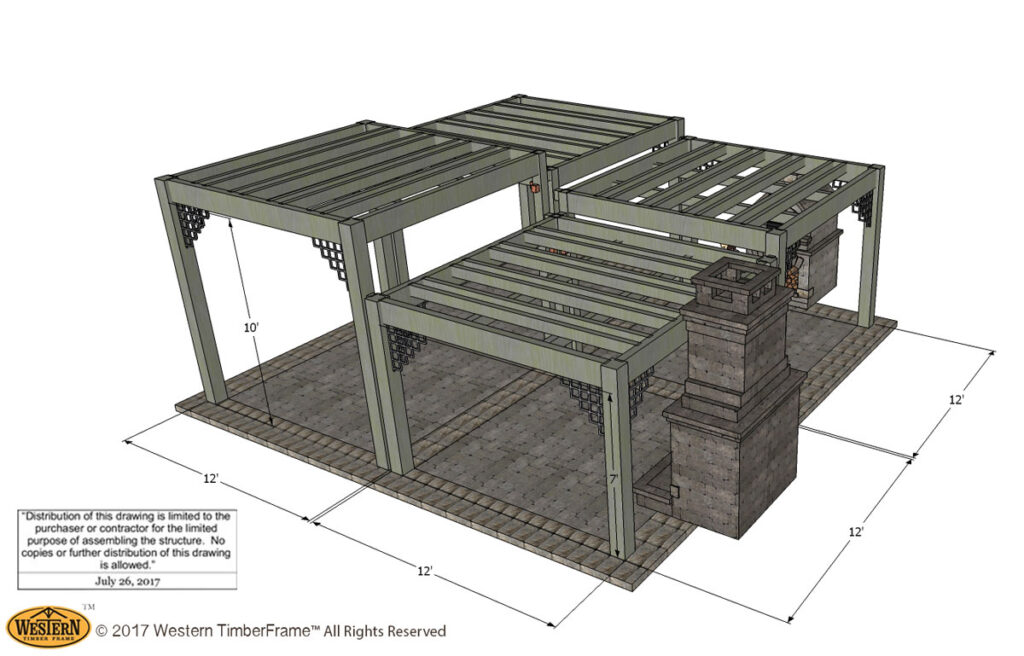
Roof Height
- 8′ headroom + beam + rafter = approx. 10′ roof height
- This can vary for:
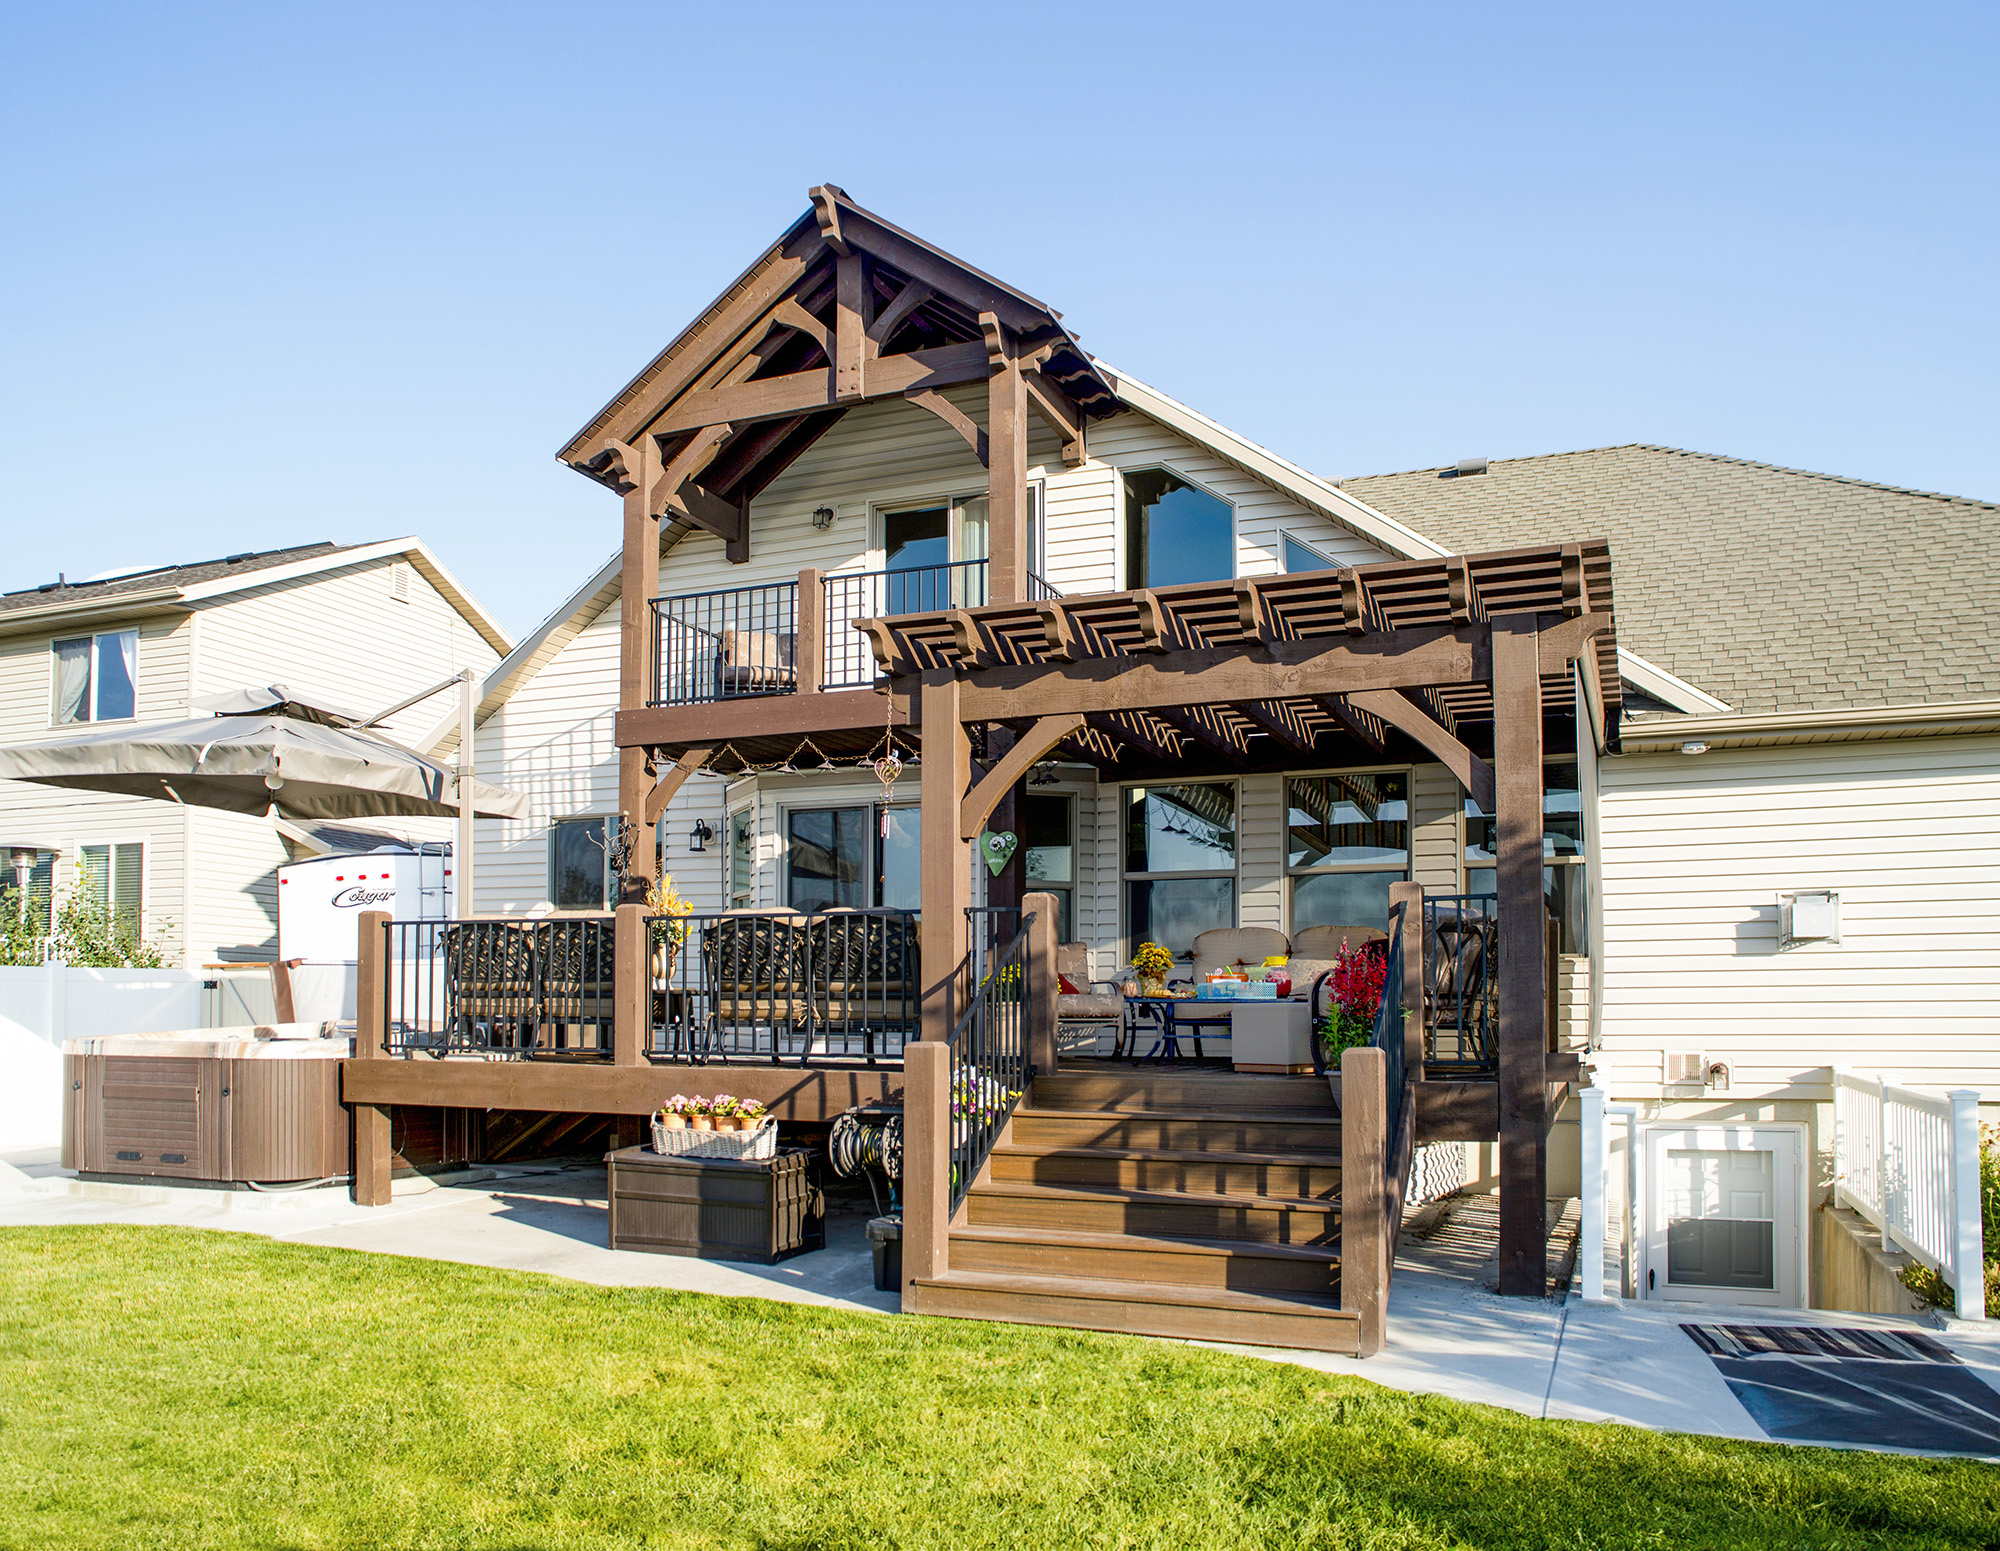
- Double Roofs
- Arched Roofs
- Tiered Designs
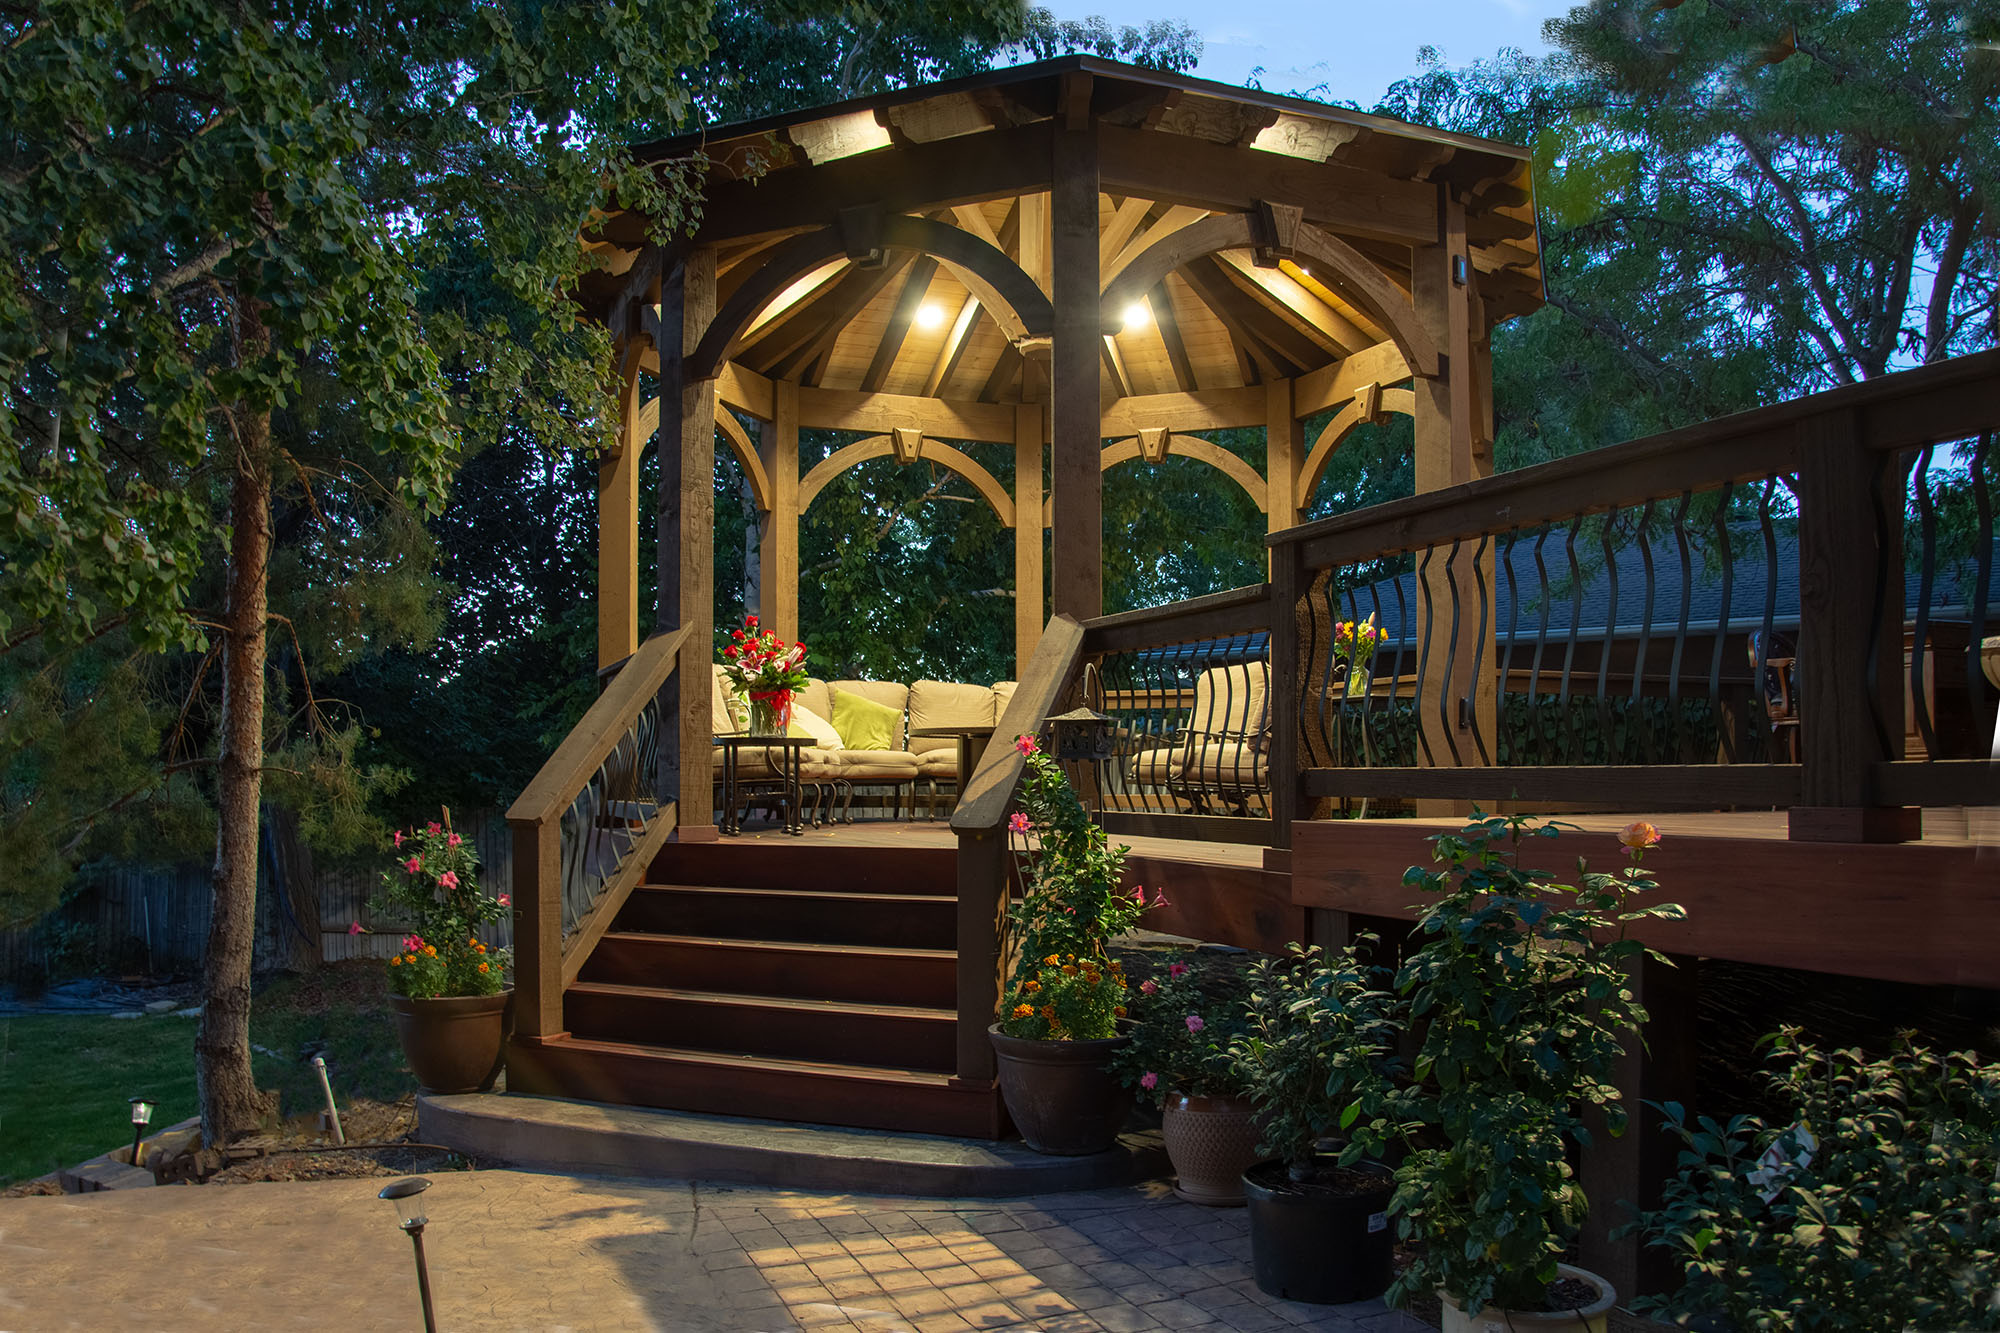
- Pergolas on Raised Decks
Double Roof
Tiered Pergolas
Pergola Deck
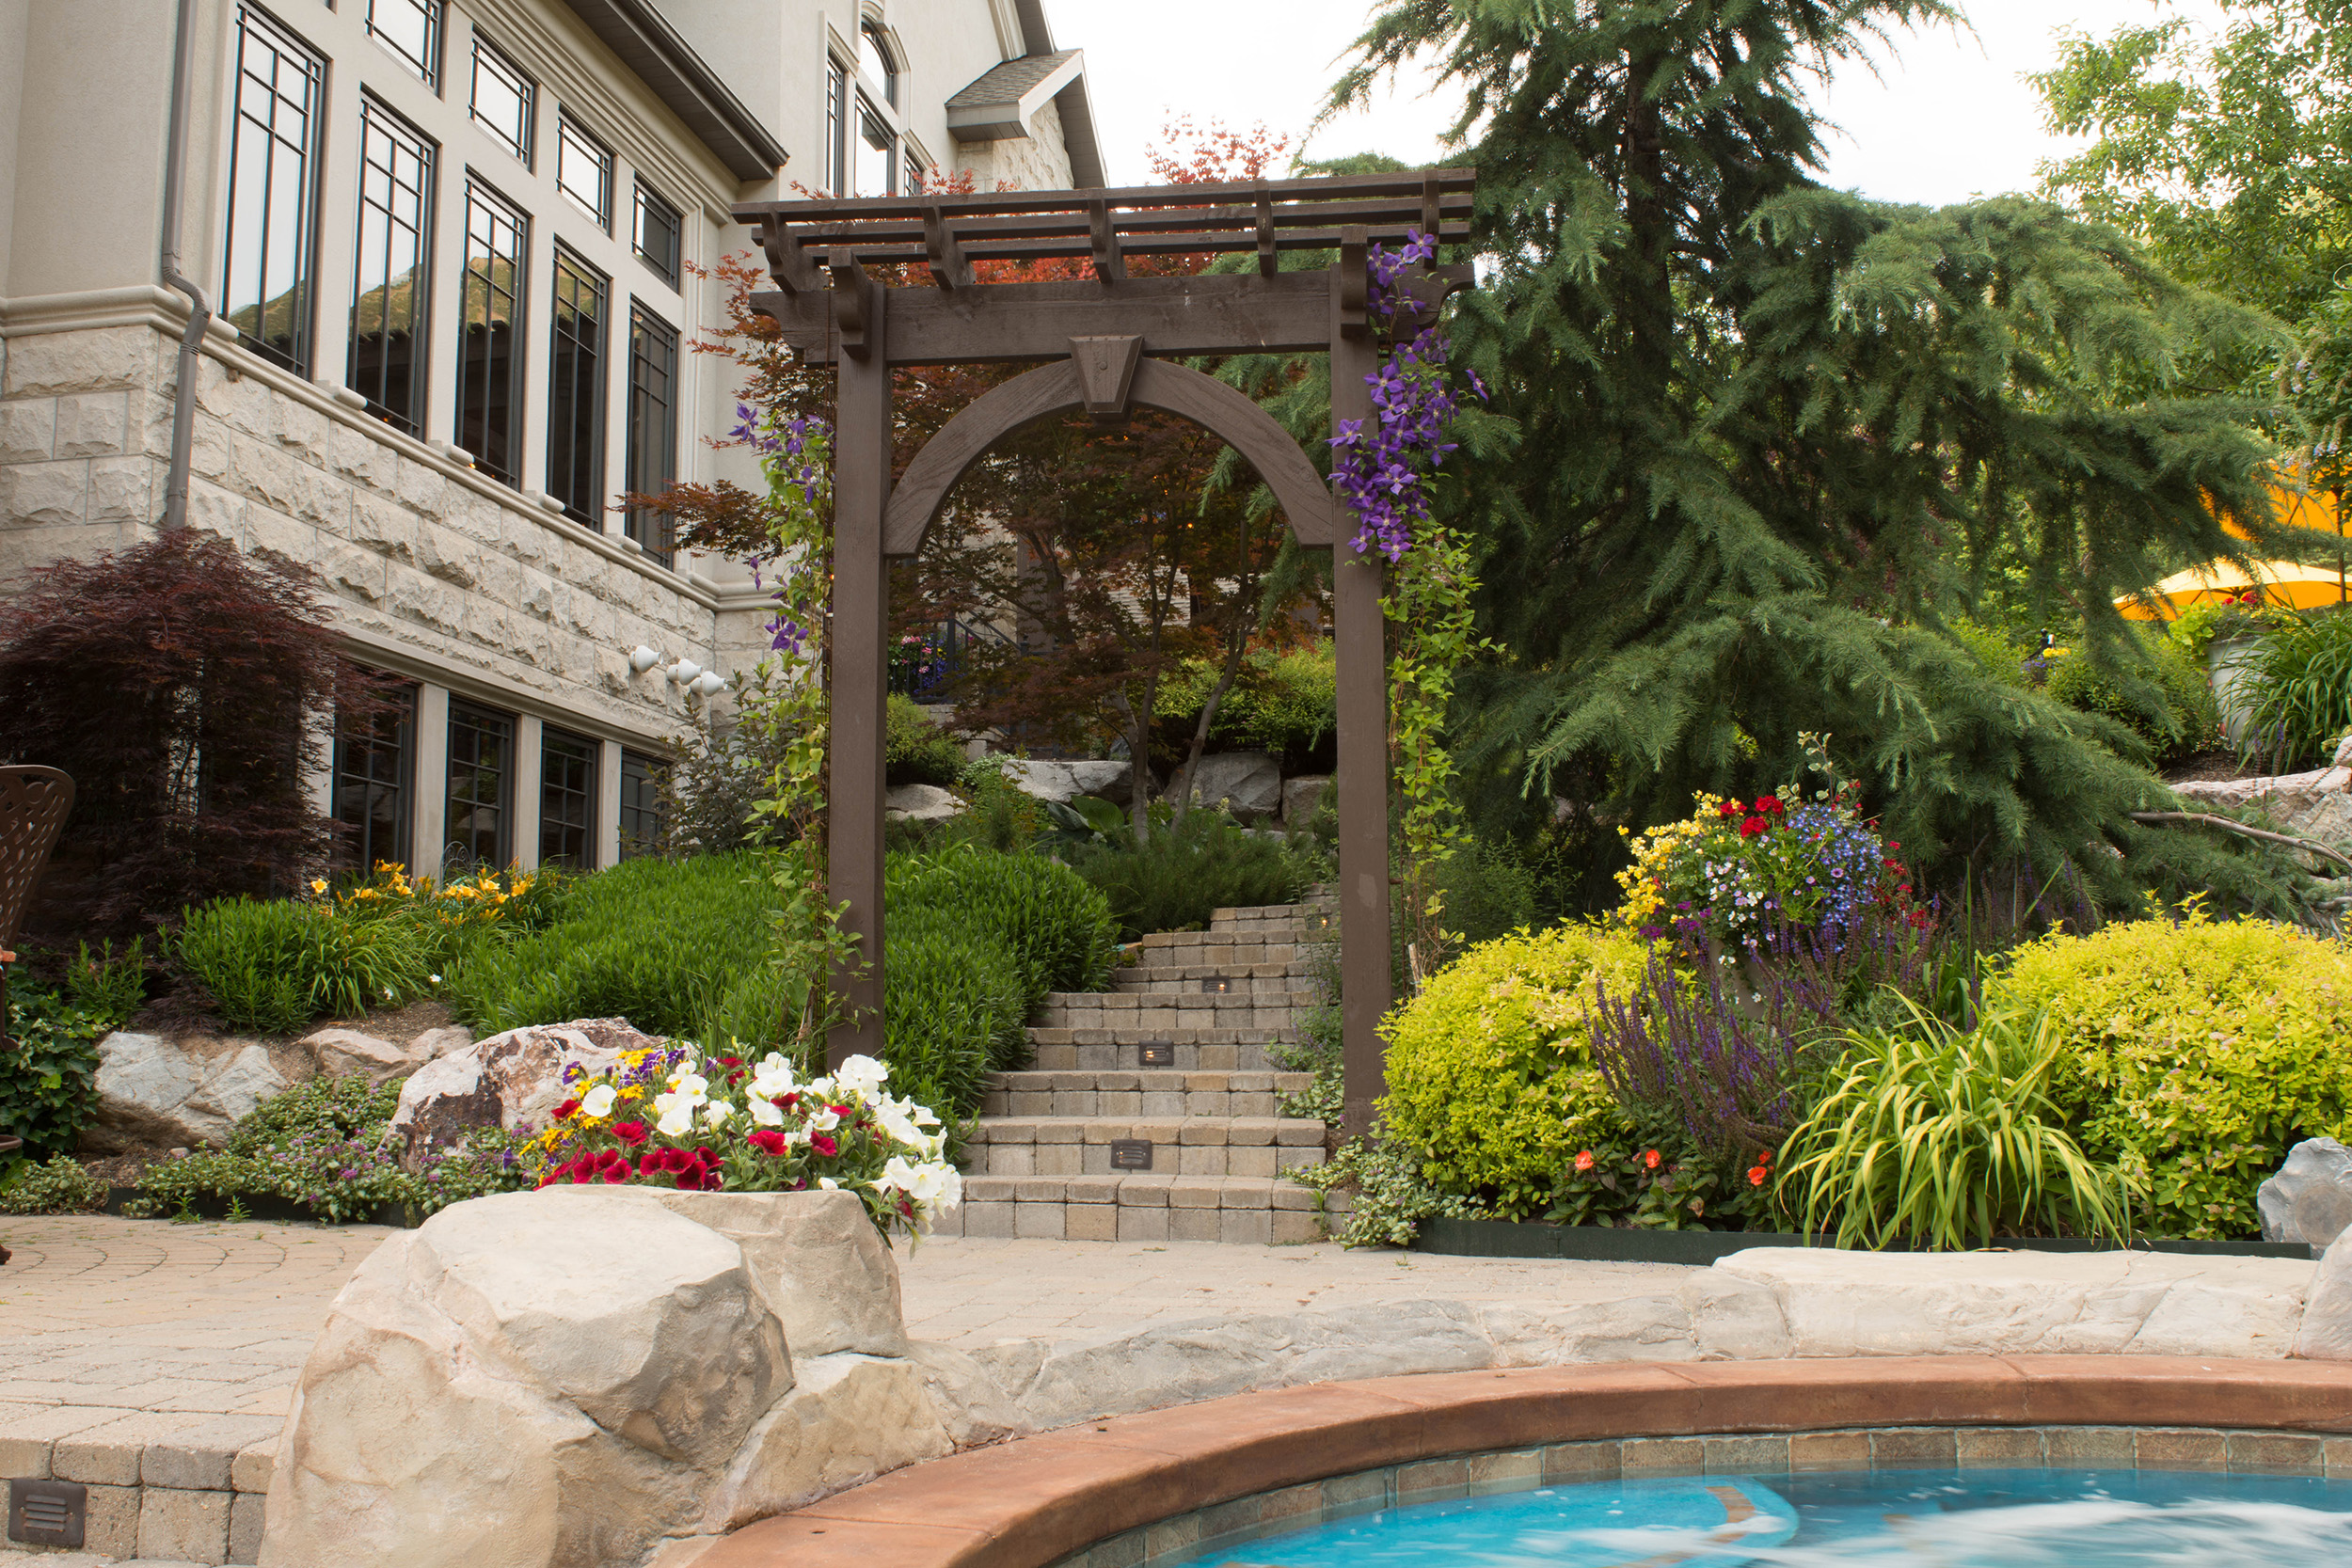
Arched Roof
Built for Your Space—Down to the Inch
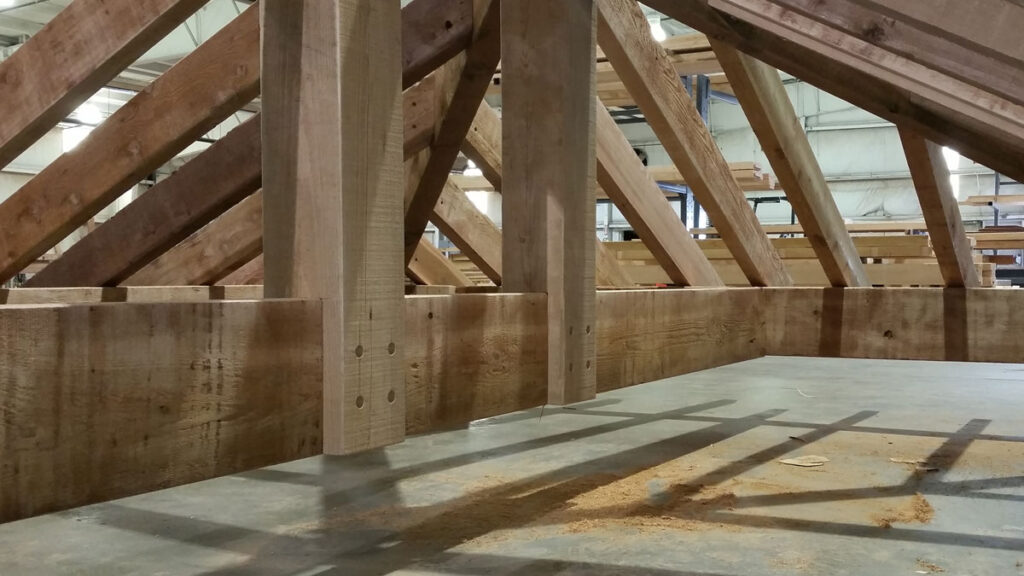
Unlike generic kits, Western Timber Frame customizes every timber frame structure to your exact dimensions and design vision. Whether you need a 25’4″ x 30’10” roof or a compact footprint for an urban courtyard, your structure will be precision-cut, pre-tested in the shop, and delivered ready to install.
Let Your Design Manager Lead the Way
From concept to completion, your Design Manager is your dedicated guide. They’ll help you:
- Finalize accurate measurements
- Adapt your plans to your landscape
- Ensure code compliance and structural soundness
- Stay within your budget and timeline
🧡 “The instructions that come with it are very self-explanatory. I had a minor problem getting the measurements right. After a quick phone call, I got it straightened out. It was a pleasure working with Western Timber Frame.”
— Dewey Farmer, AZ