DIY Timber Framed Pergola Kit; Setting Roof Rafters & Shade Planks 9/12


You can see here at the top of the post there is the one that we drilled for power. We have got all four lags in from the posts. We have got our layout board here or our layout rafters here on the end, and then we have layout middle, and on the other end. Now they are ready for 2 x 6’s. They are going to start pulling out and putting on each of these layouts.

So here we have got the roof, the 2 x 6’s laid out. They are not all screwed down yet. They are just spaced on the layouts. We will start here on one side making sure the 2 x 6’s are equal hanging over the ends equal distances and then we will begin to fasten the 2 x 6’s with two decking screws per 2 x 6 per each rafter so it really locks in the whole roof very well and that’s going to give a lot of the shear value. Then the roof should be completed.
How to Install a DIY Timber Framed Pergola Kit; Setting the Posts & Beams 6/12
How to Install a DIY Timber Framed Pergola Kit; Fasten Beams & Level 7/12
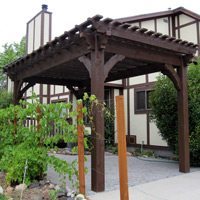
How to Install a DIY Timber Framed Pergola Kit; Setting the Knee Braces 8/12
How to Install a DIY Timber Framed Pergola Kit; Touch Up 10/12
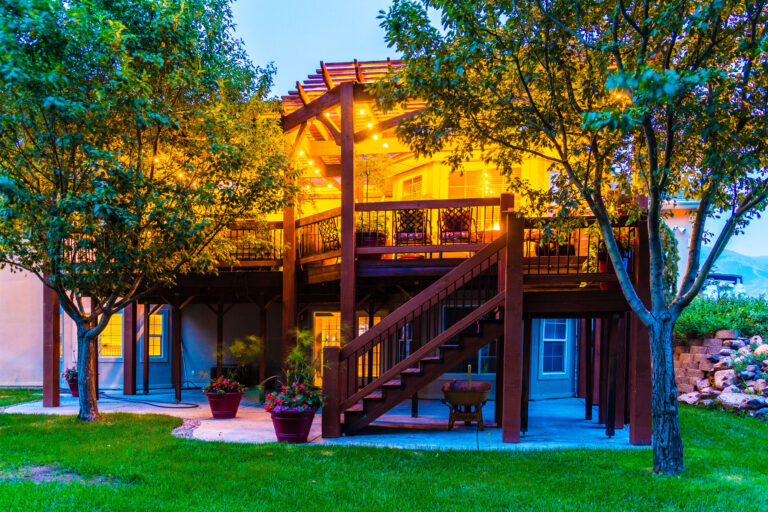
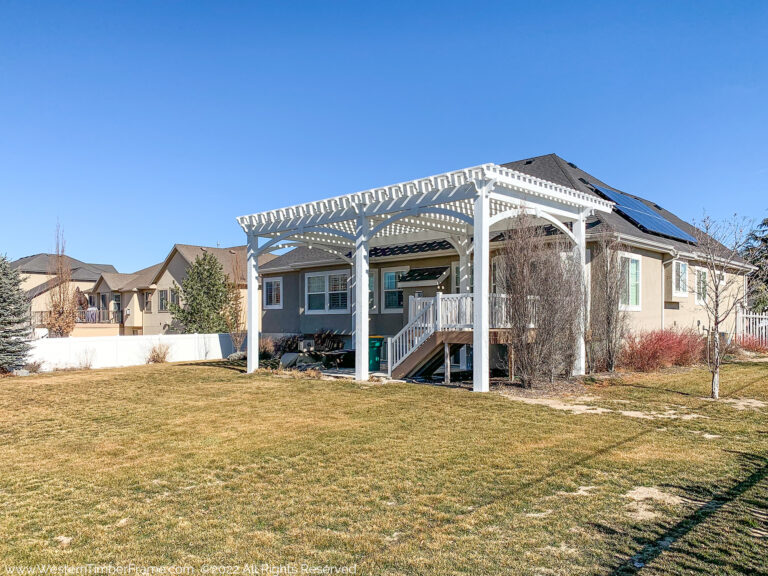
How to Install a DIY Timber Framed Pergola Kit; Attached Pergola 11/12
How to Install a DIY Timber Framed Pergola Kit; Other Notes 12/12
Our project managers can help you design your timber framed pergola kit. Click HERE or Call Today! 877-870-8755